
Connecting Shadowfax with Clickpost.
This document describes how to connect a new Shadowfax carrier account to Clickpost, verify authorization, and then reconnect Shadowfax by resetting the integration from the Shadowfax side.
Note: Through this connection, the webhook for the respective courier partner ID used (forward or reverse) is also configured in the Shadowfax system.
Step 1: Log in to Clickpost
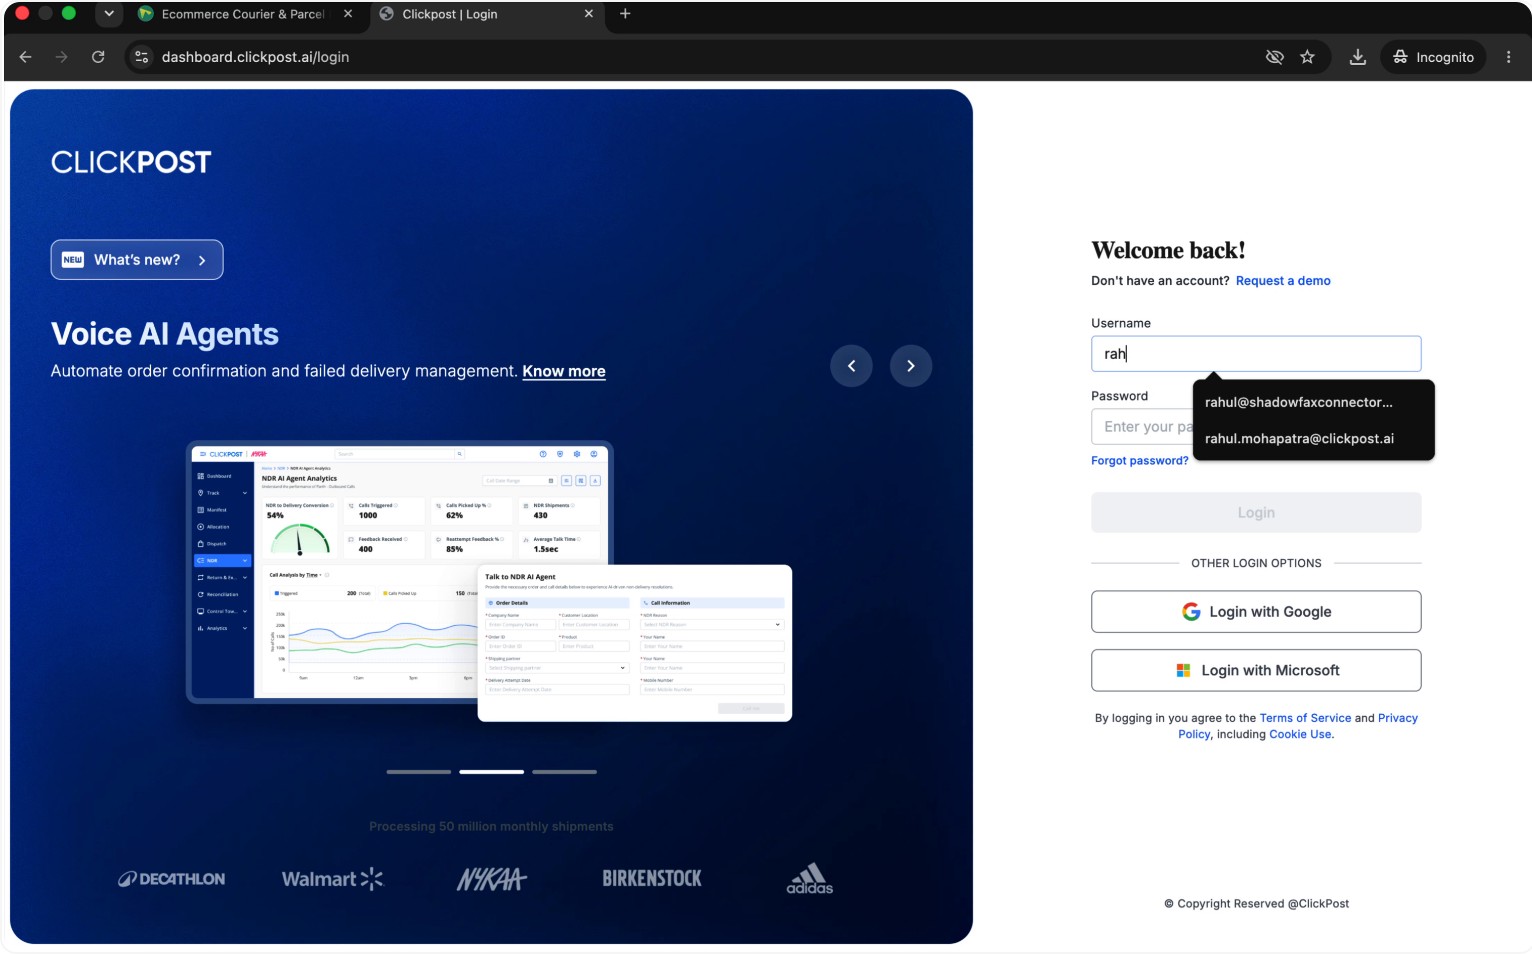
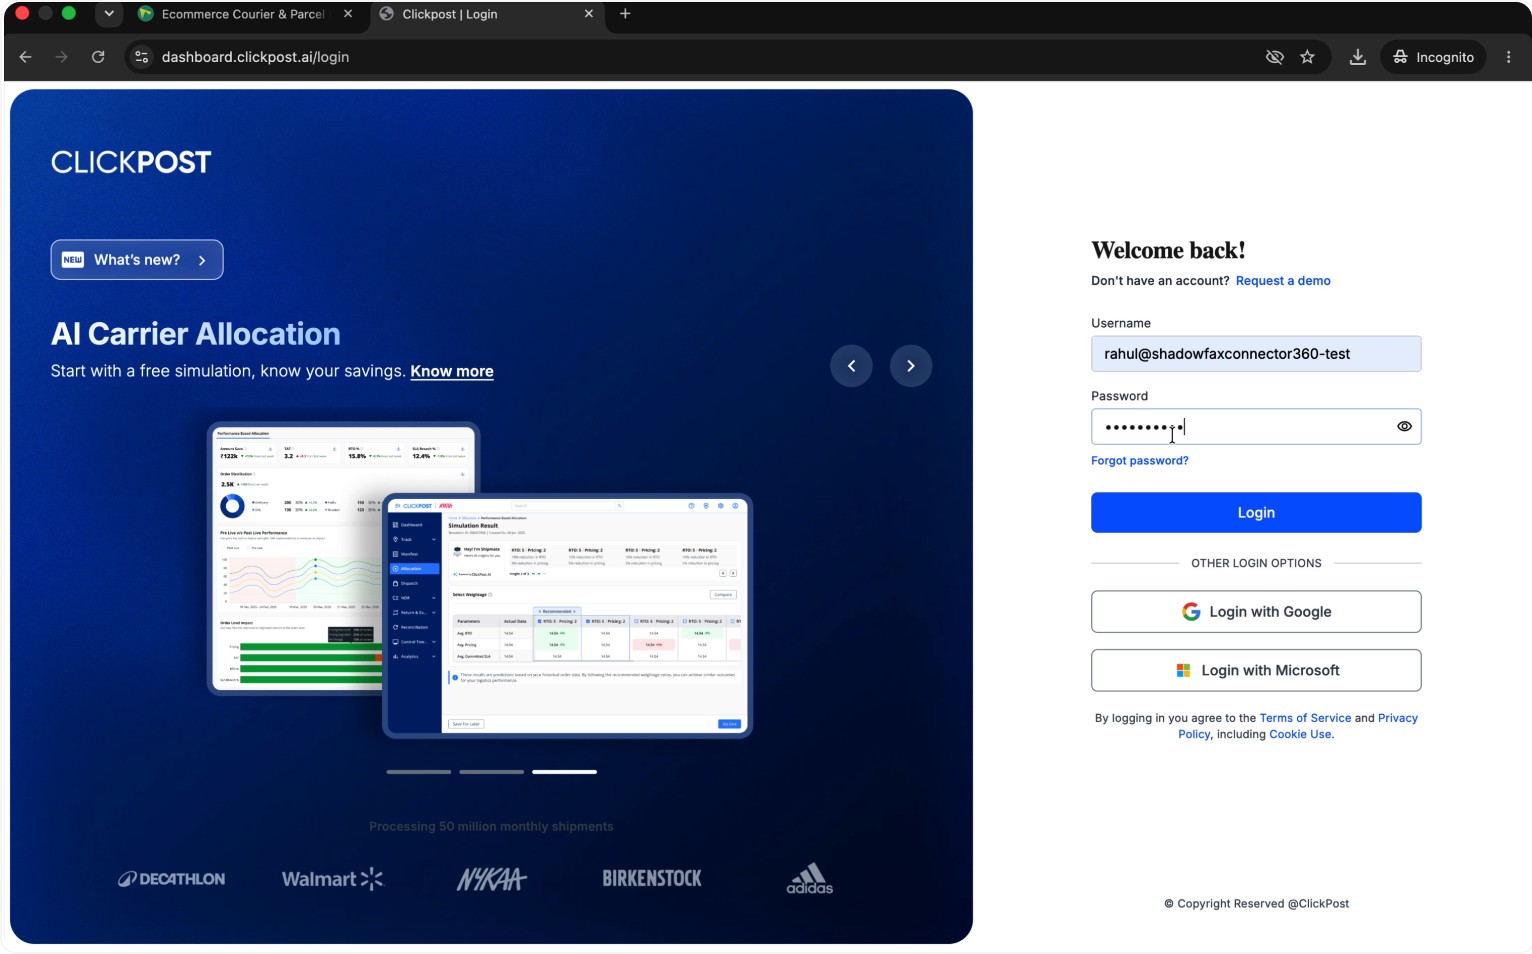
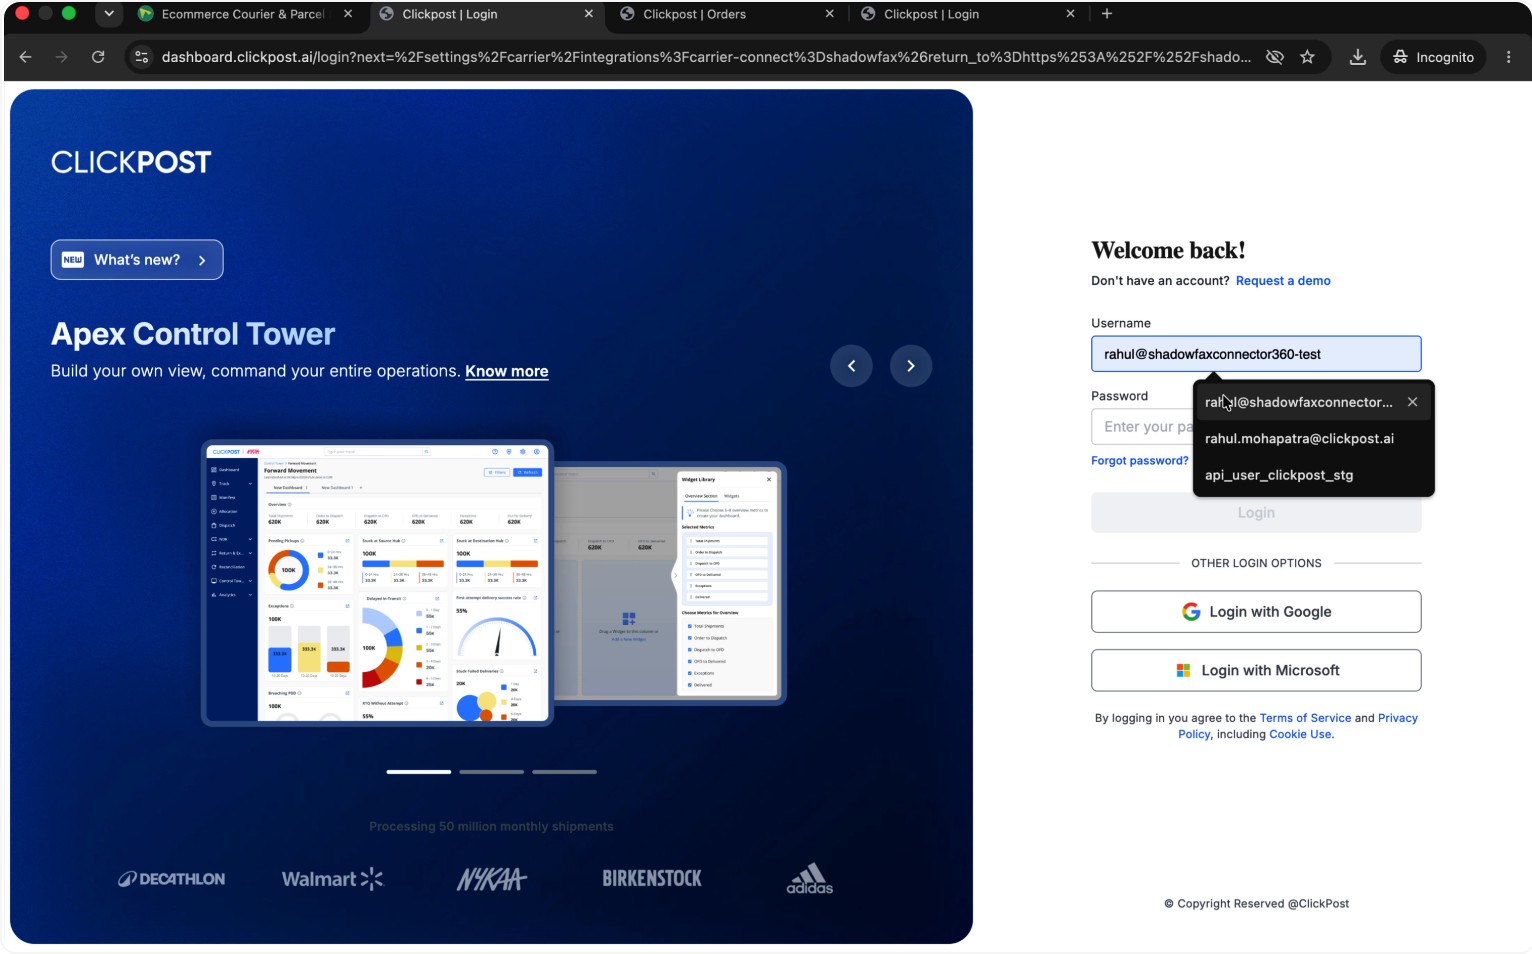
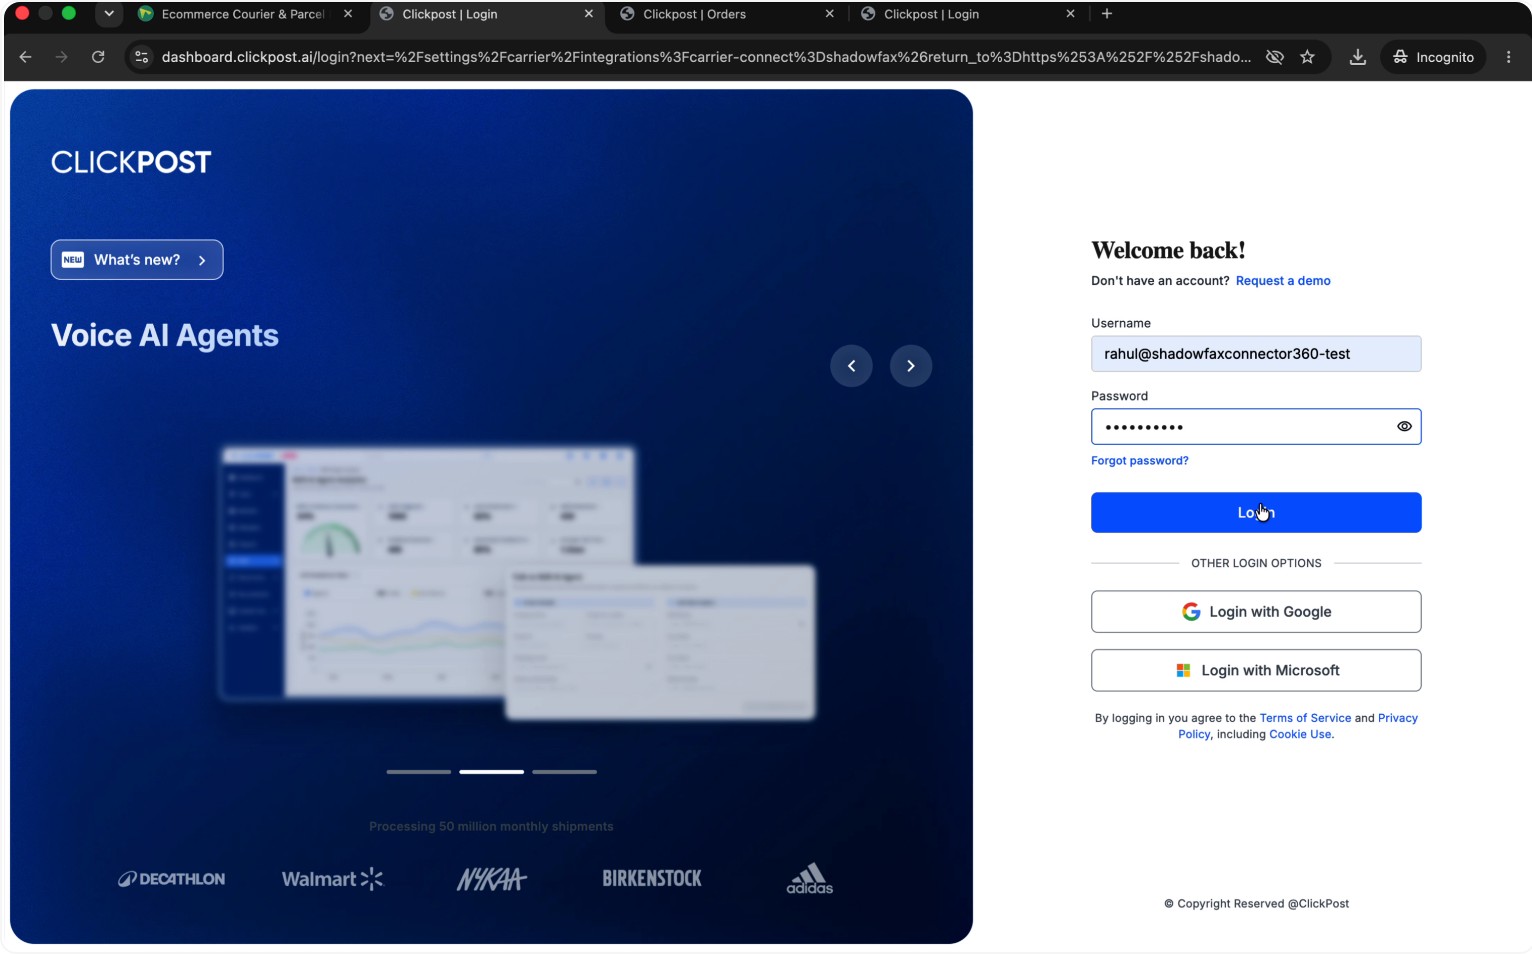
Select your saved username on the Clickpost login screen, enter your password, and click Login to access your account.
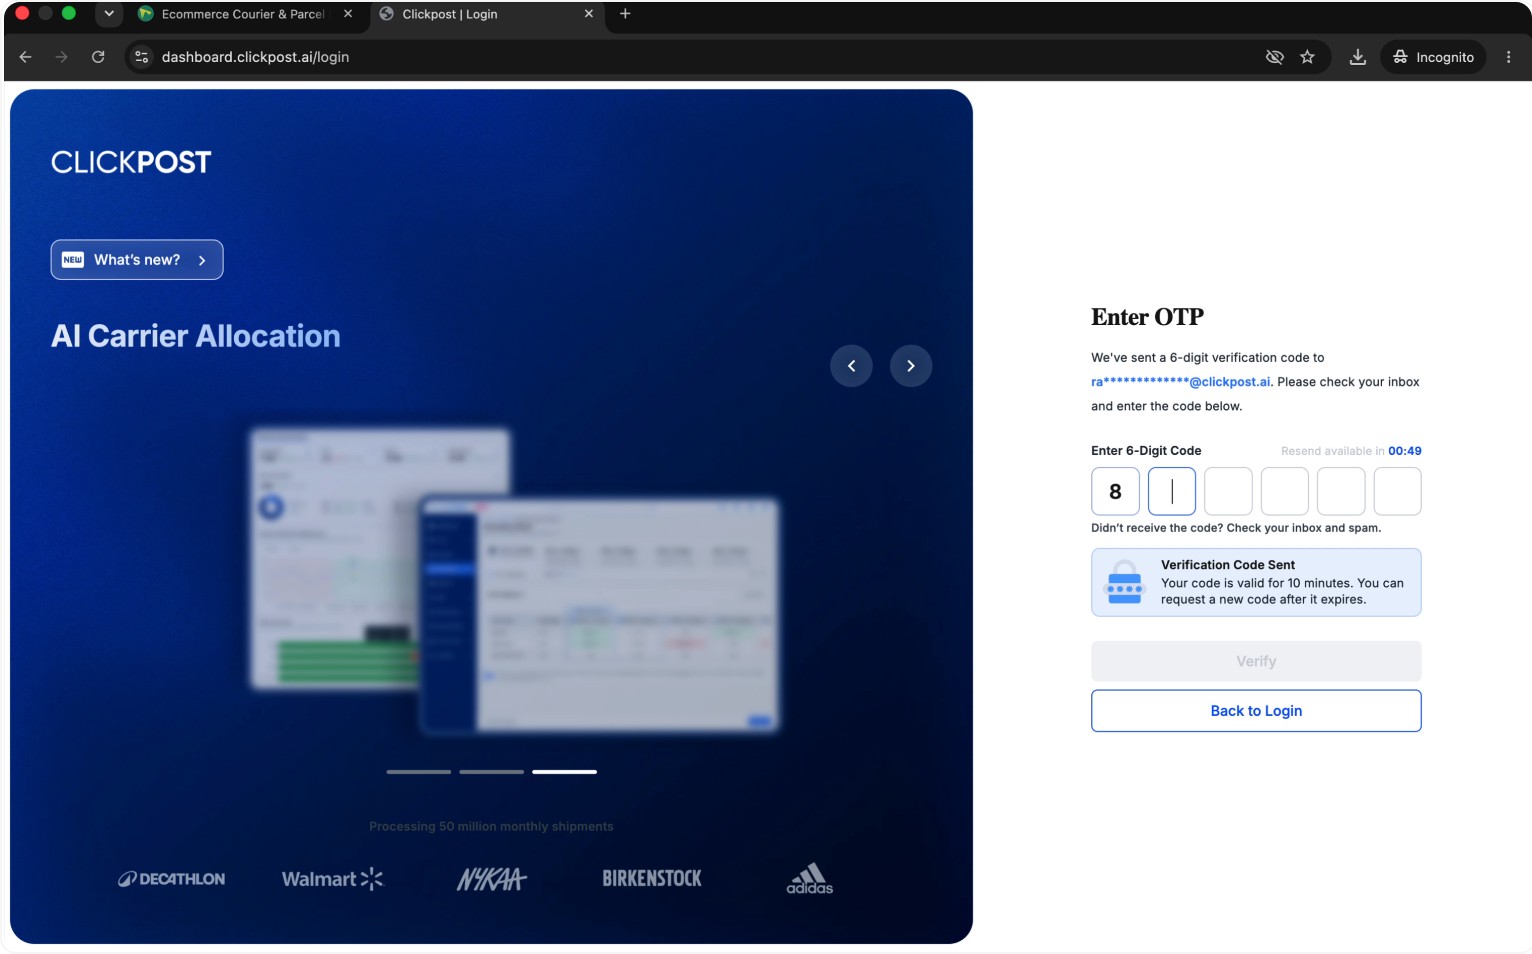
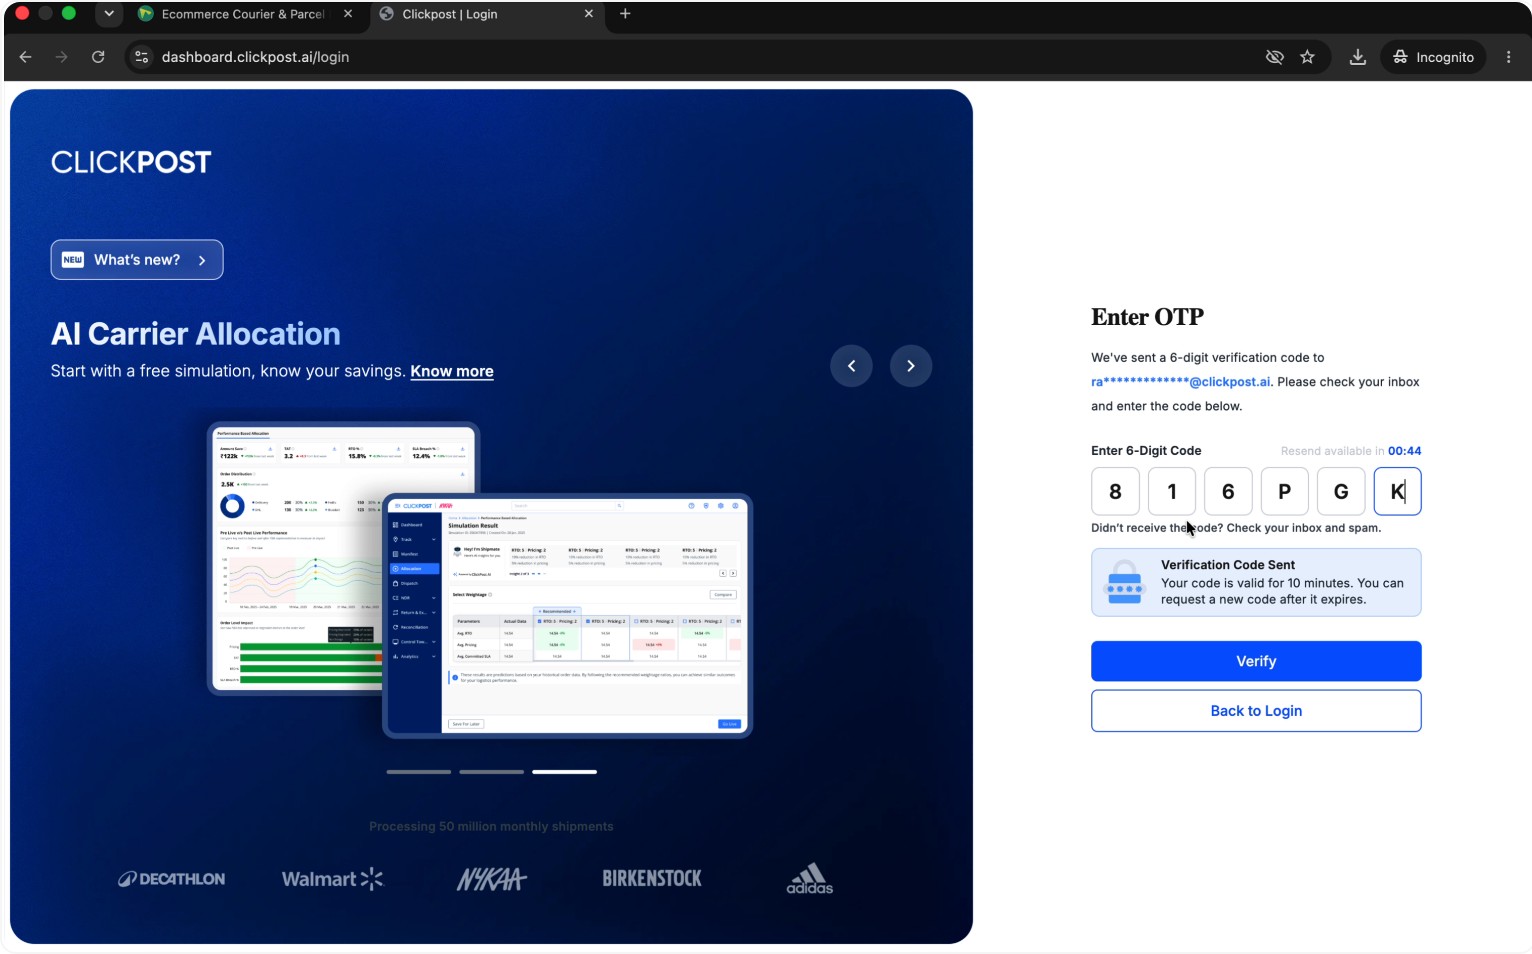
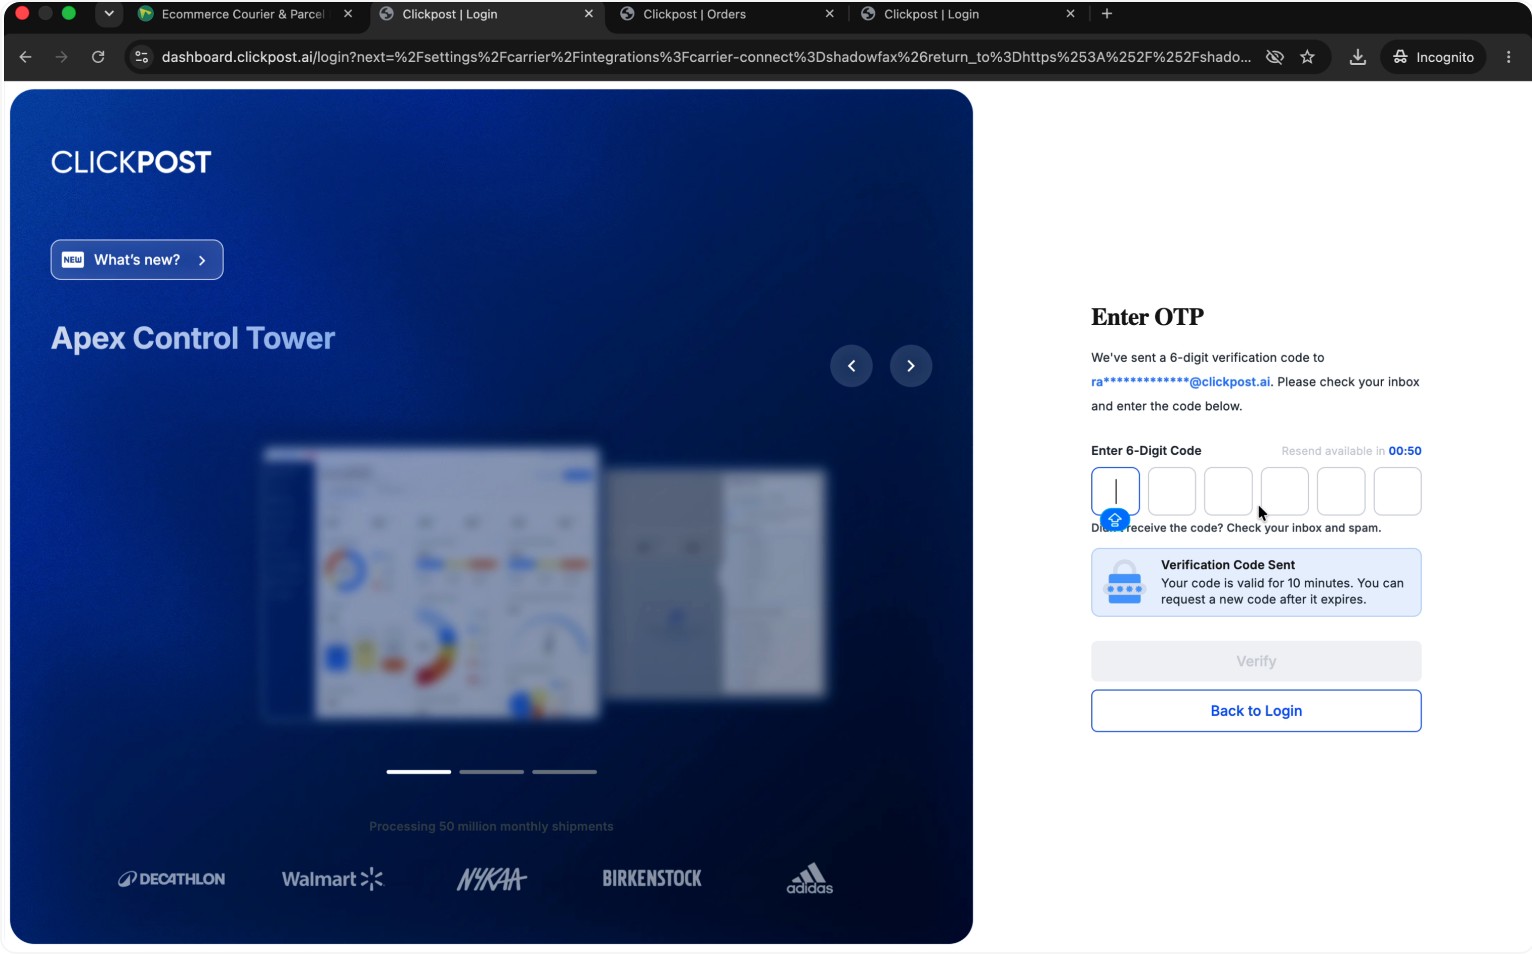
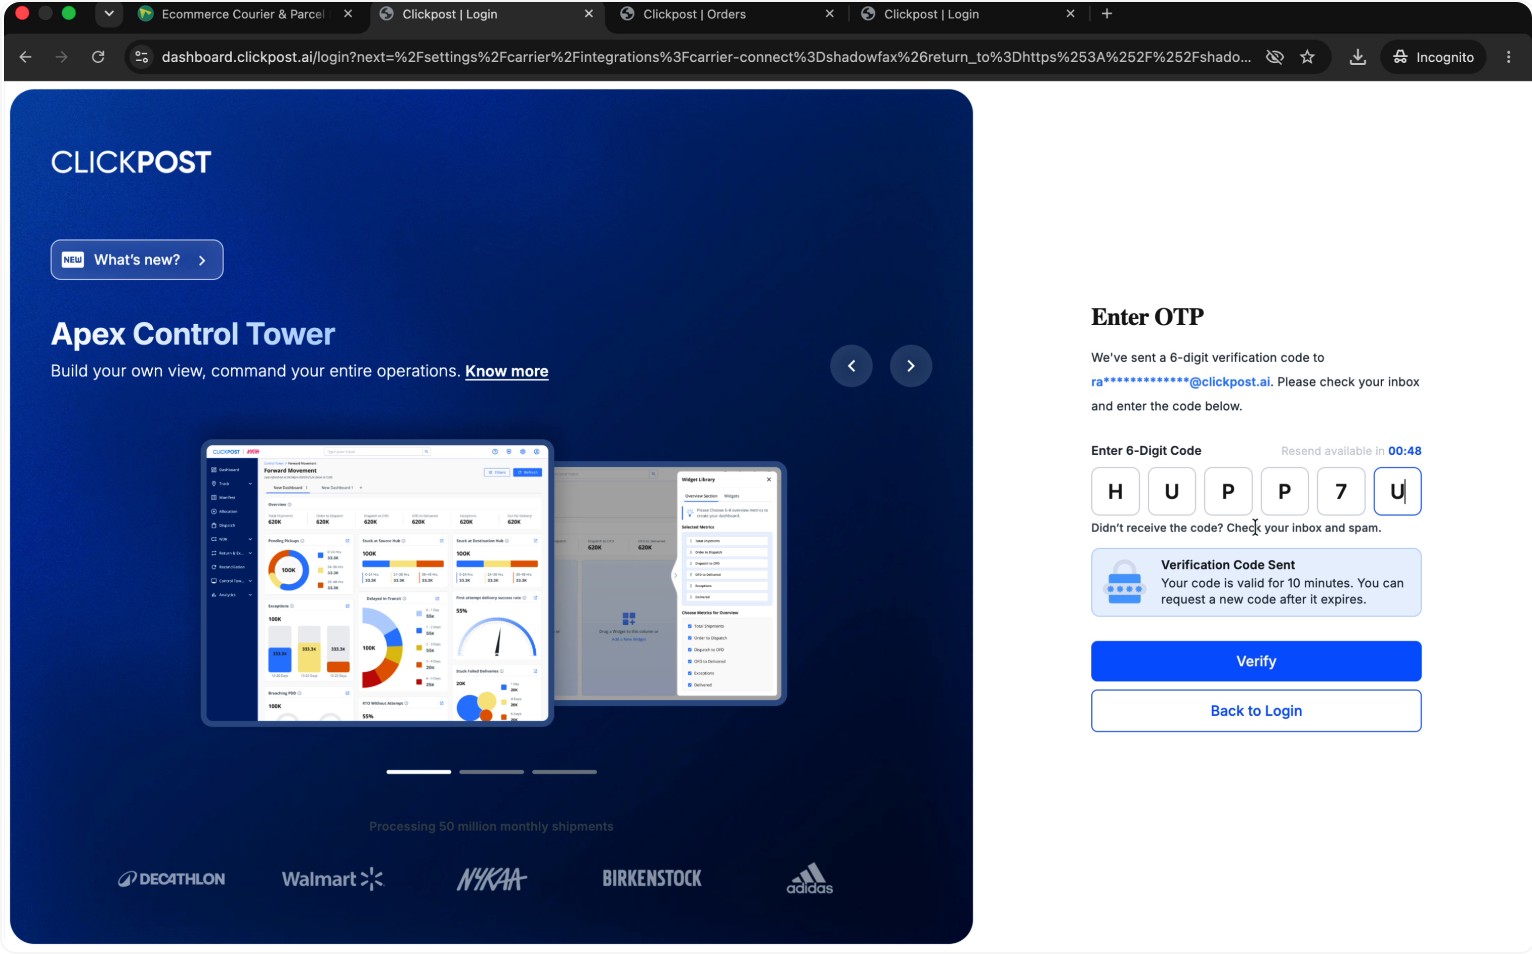
Enter the 6-digit OTP sent to your registered email address and click Verify to open your Clickpost dashboard.
Step 2: Open Carrier Integrations in Clickpost
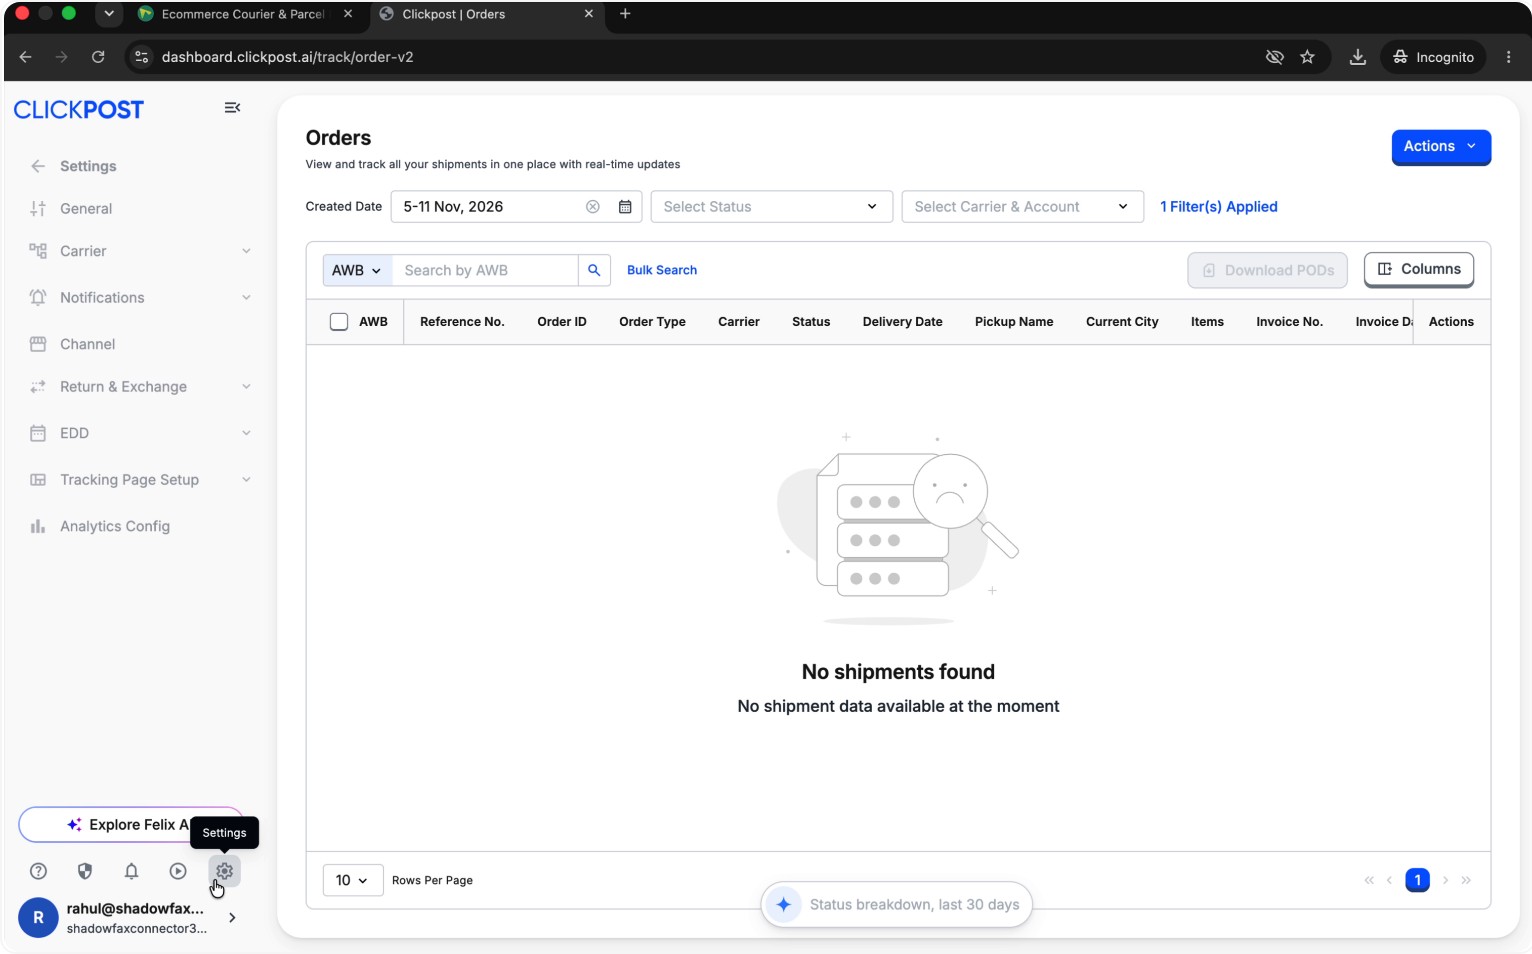
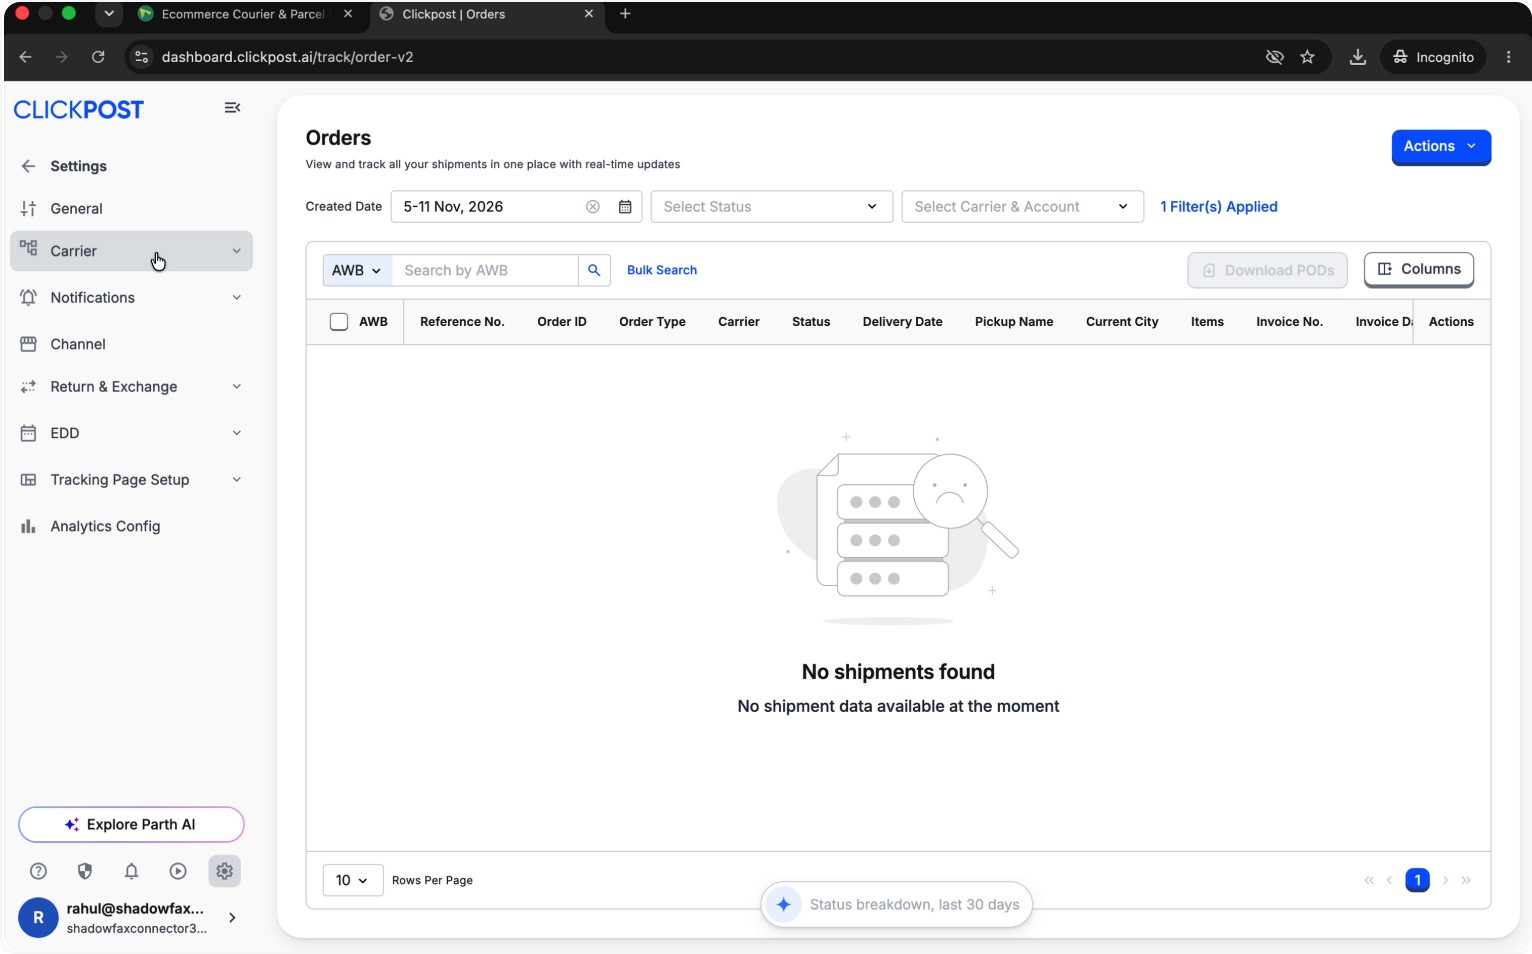
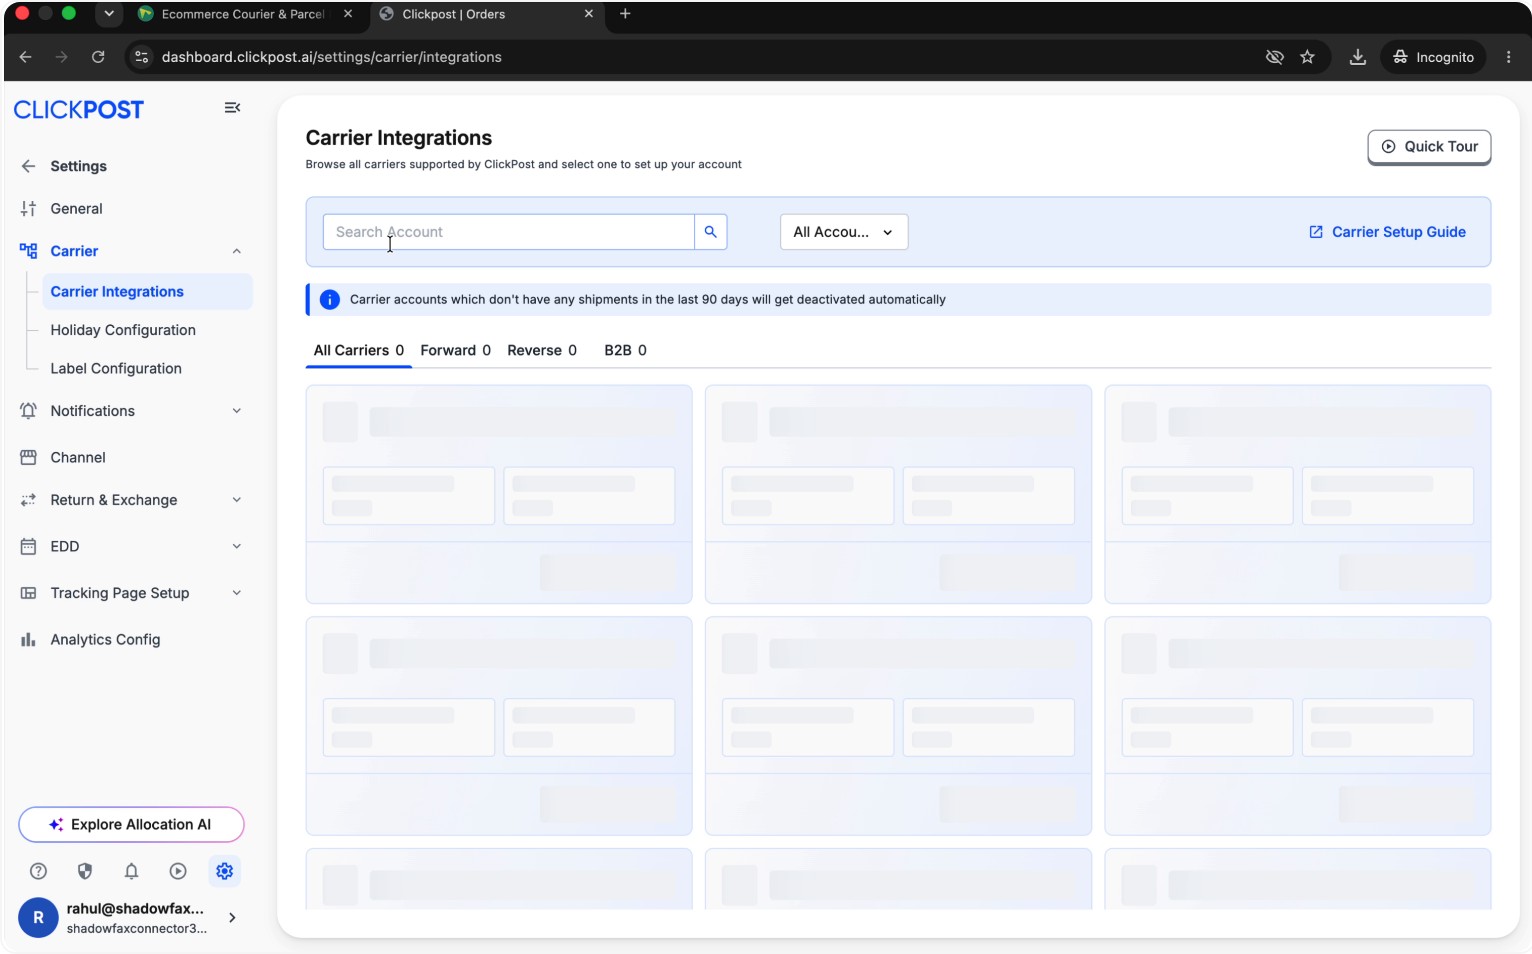
From the Clickpost dashboard, open Settings from the navigation bar. Then navigate to Carrier Integrations to manage your carrier connections.
Step 3: Locate the Shadowfax Carrier
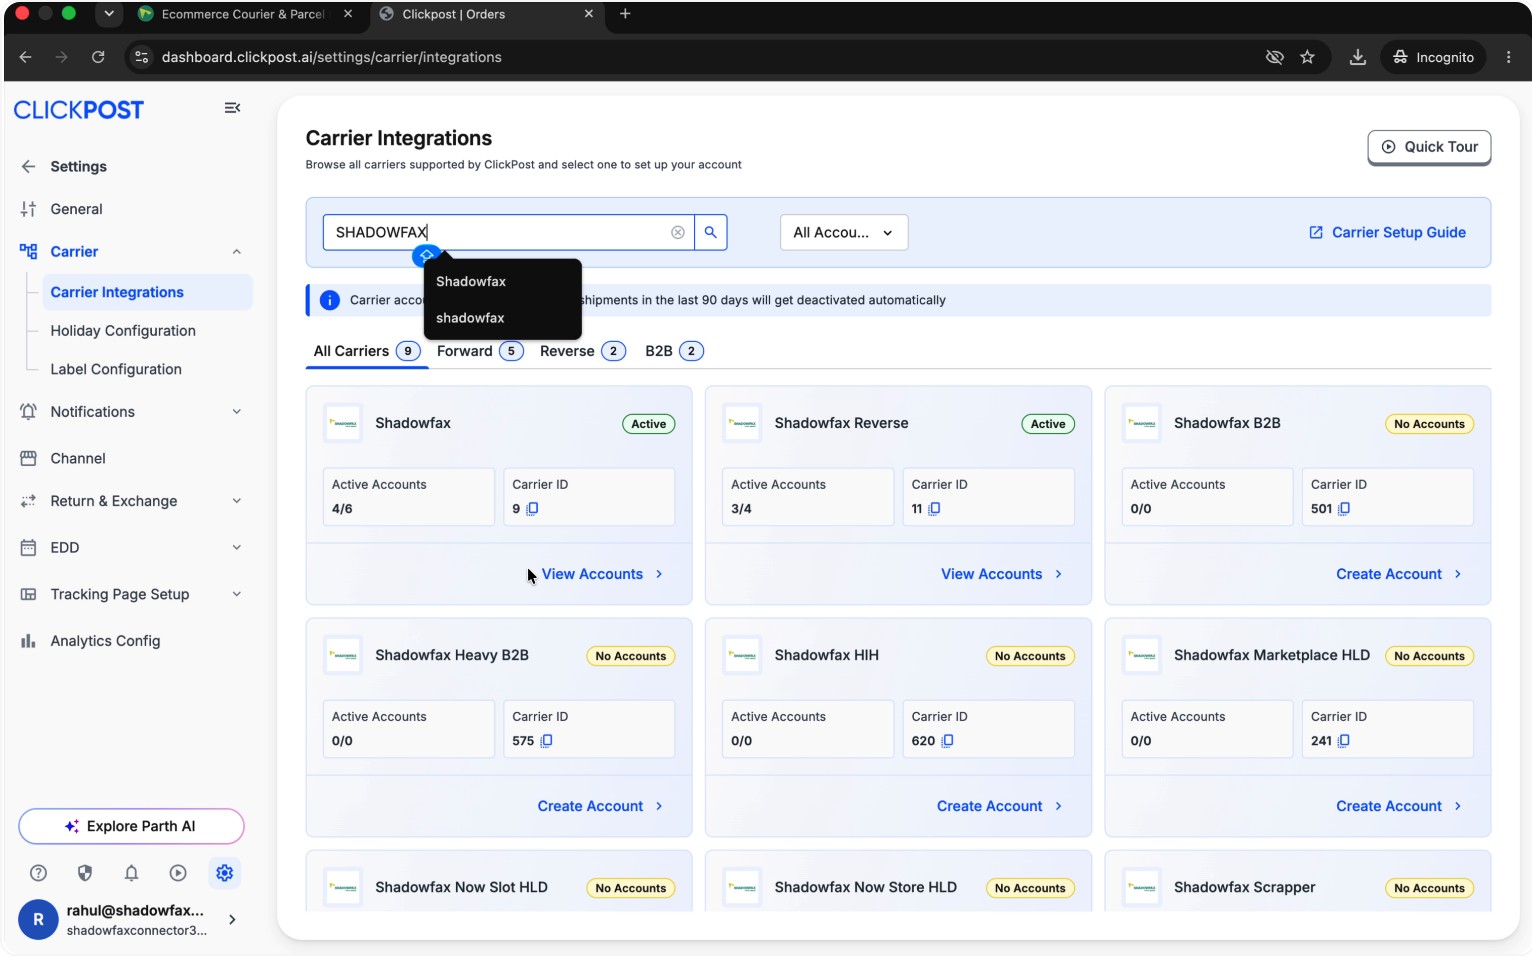
In the Carrier Integrations section, search for Shadowfax using the carrier search bar.
Select View Accounts on the Shadowfax carrier card to open the Shadowfax accounts list.
Step 4: Create a New Shadowfax Account in Clickpost
Click Create New Account, enter an appropriate Account Name (for example, “Shadowfax Primary” or your region/store name), and click Create to add the account.
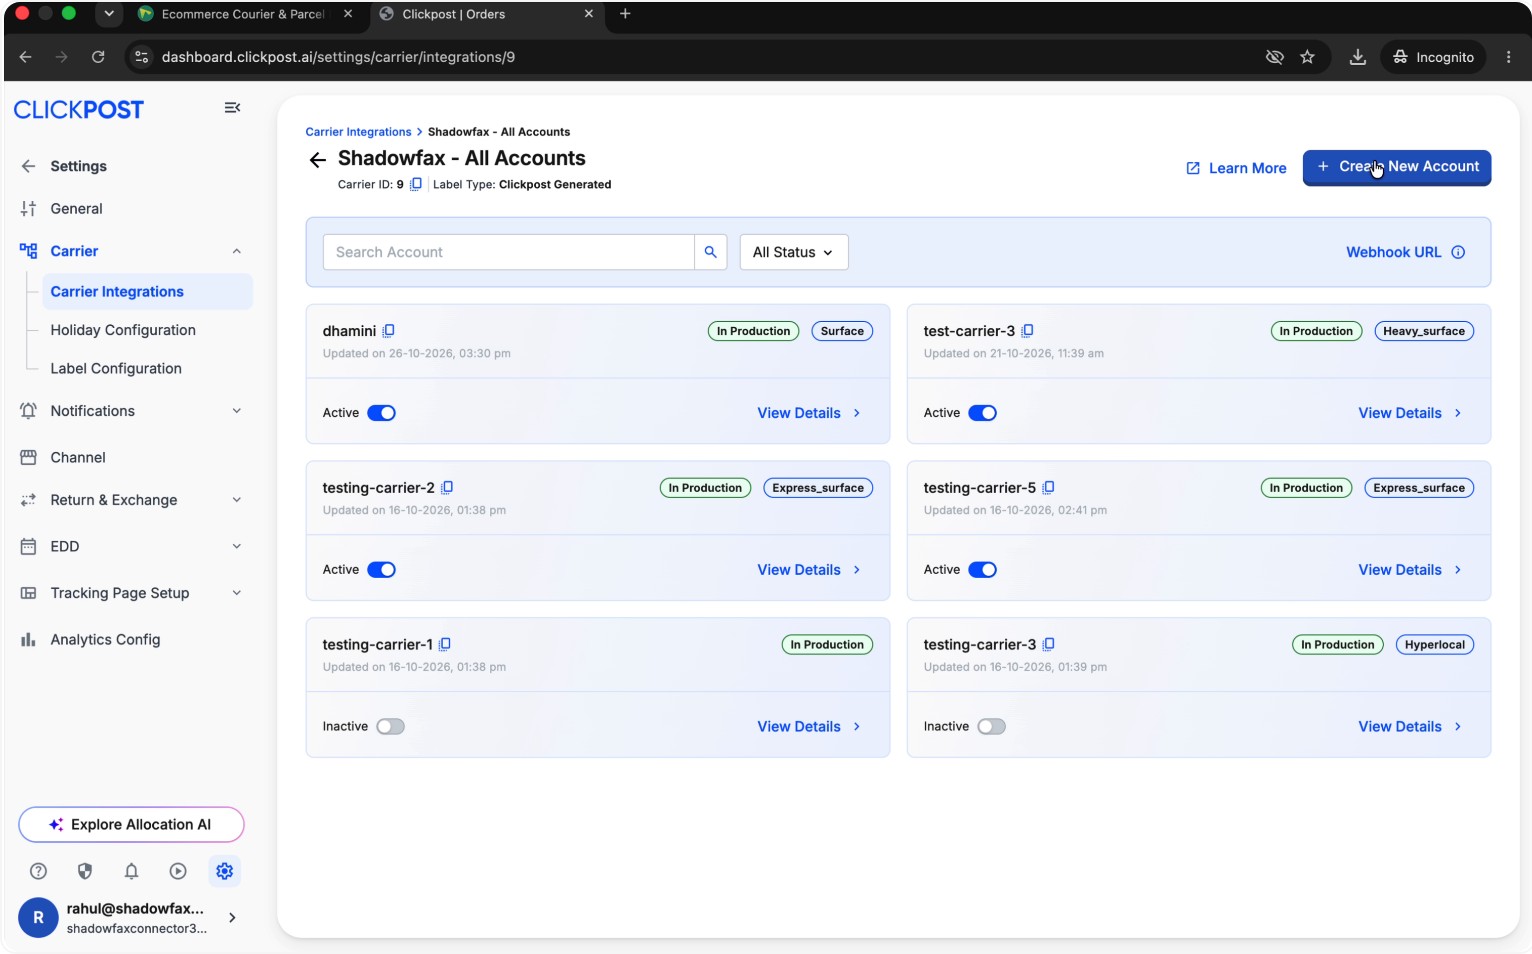
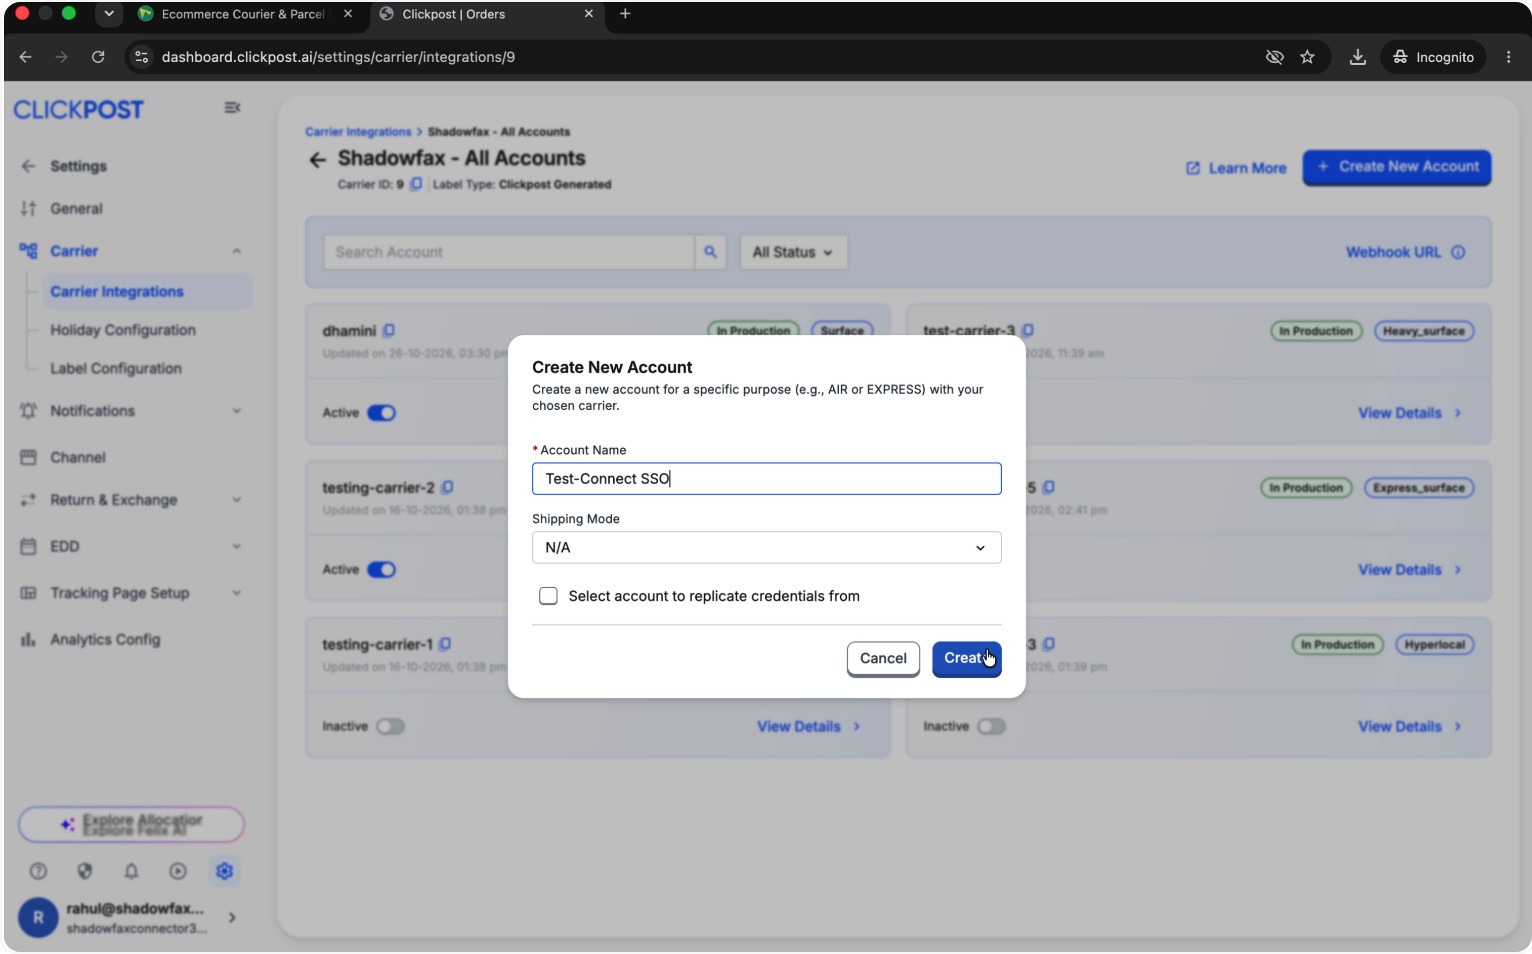
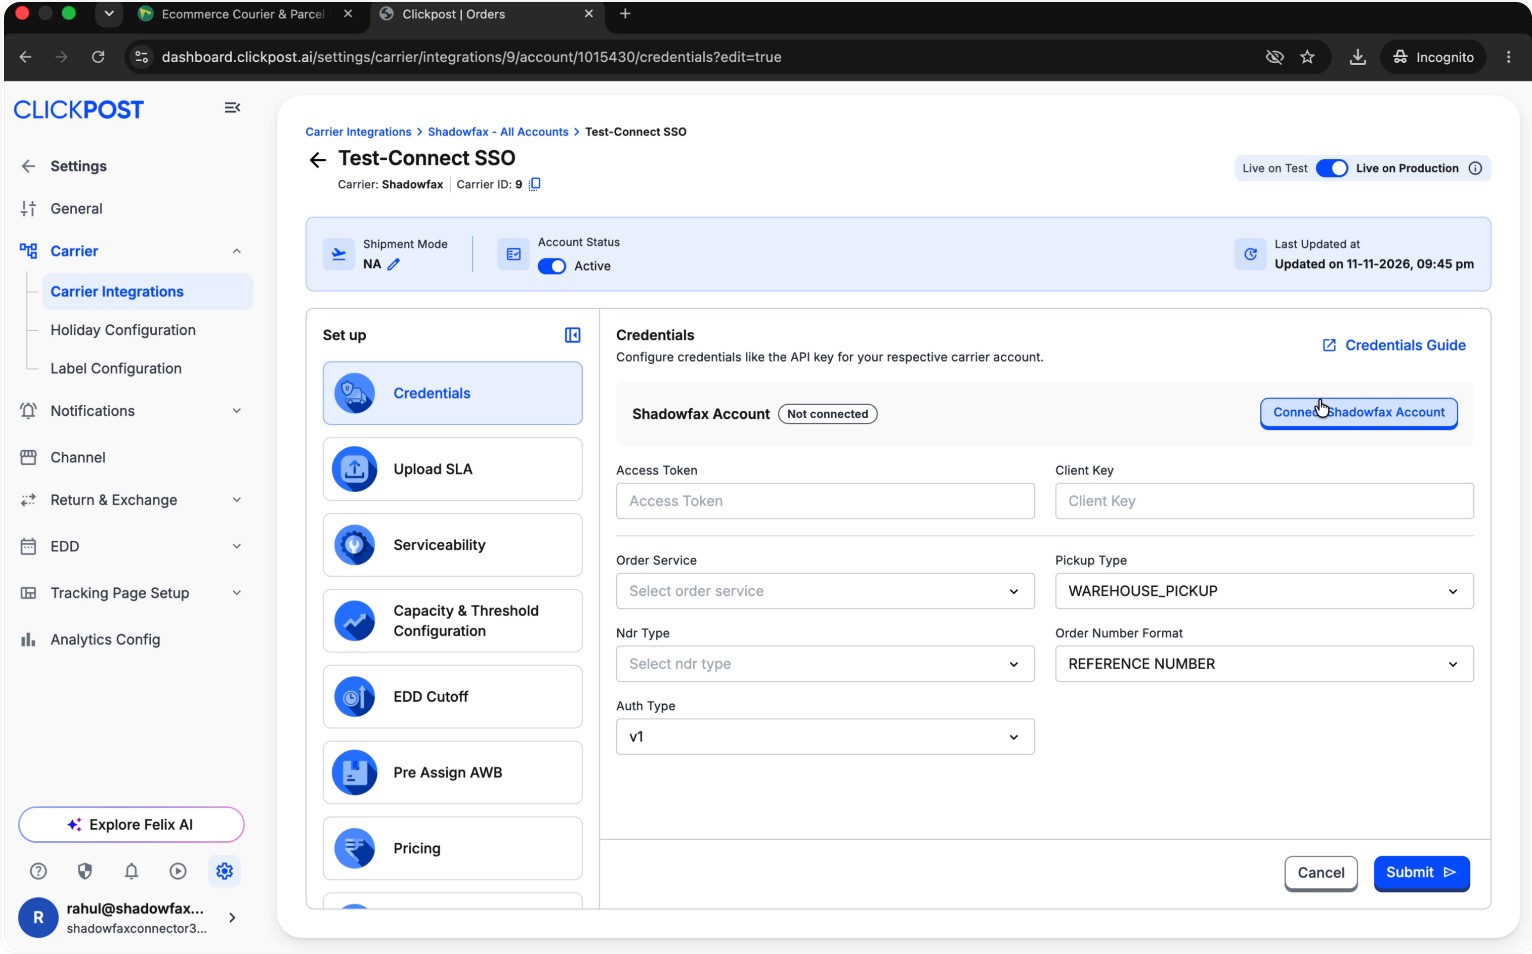
Step 5: Start the Shadowfax Authorization from Clickpost
Under the Credentials section for the new account, click Connect Shadowfax Account to begin the authorization flow with Shadowfax.
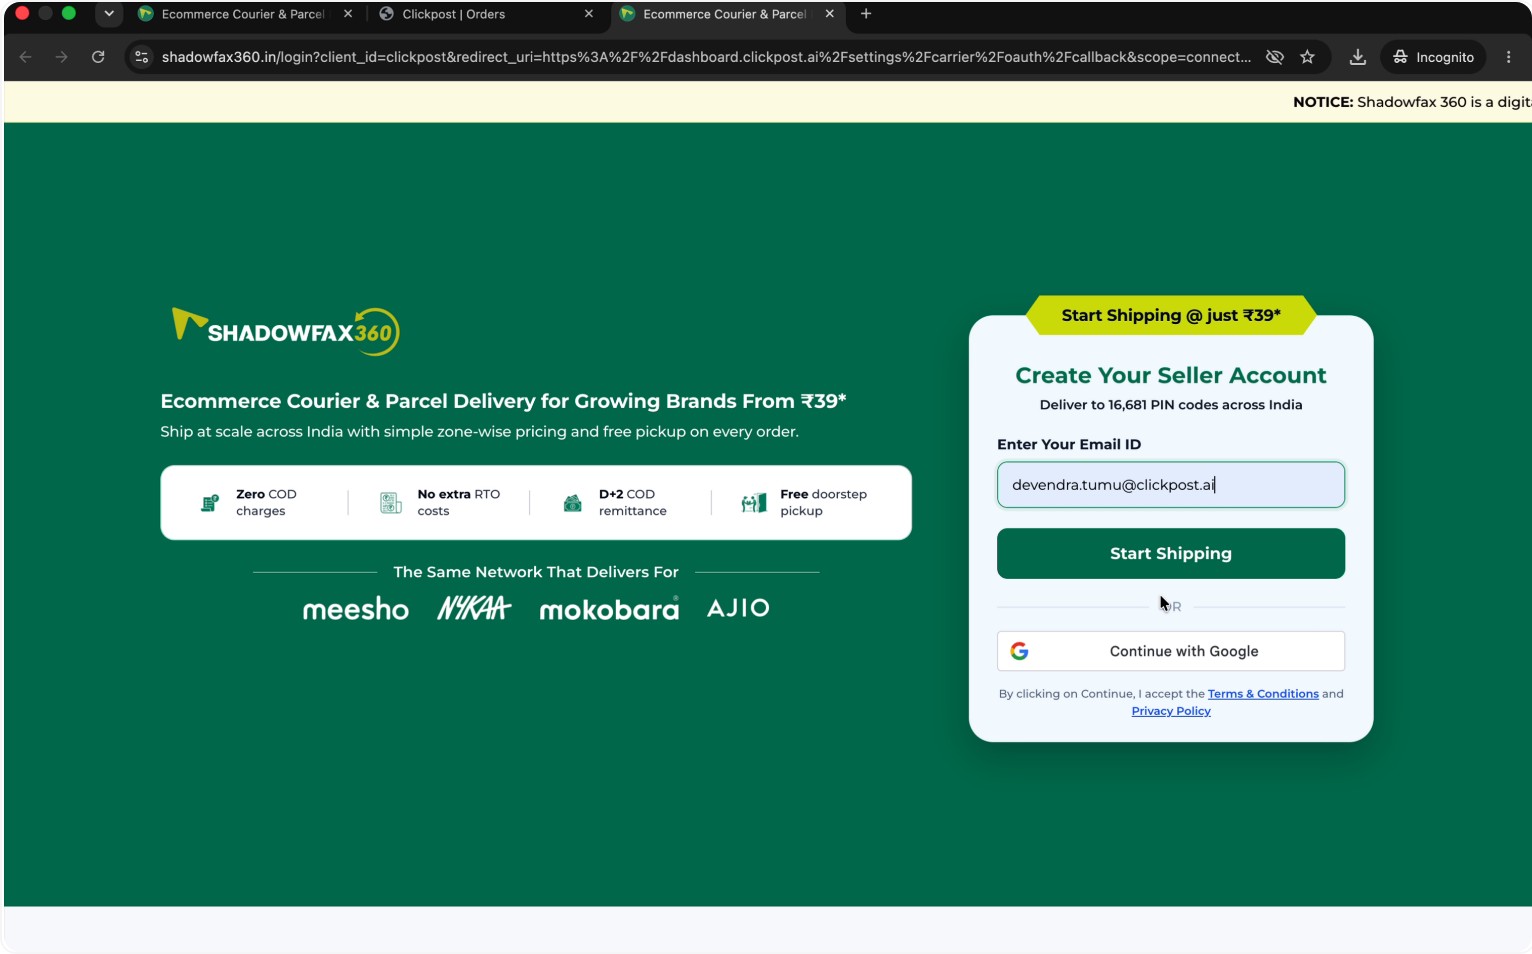
On the Shadowfax sign‑in page that opens, enter your email address and click Start Shipping.
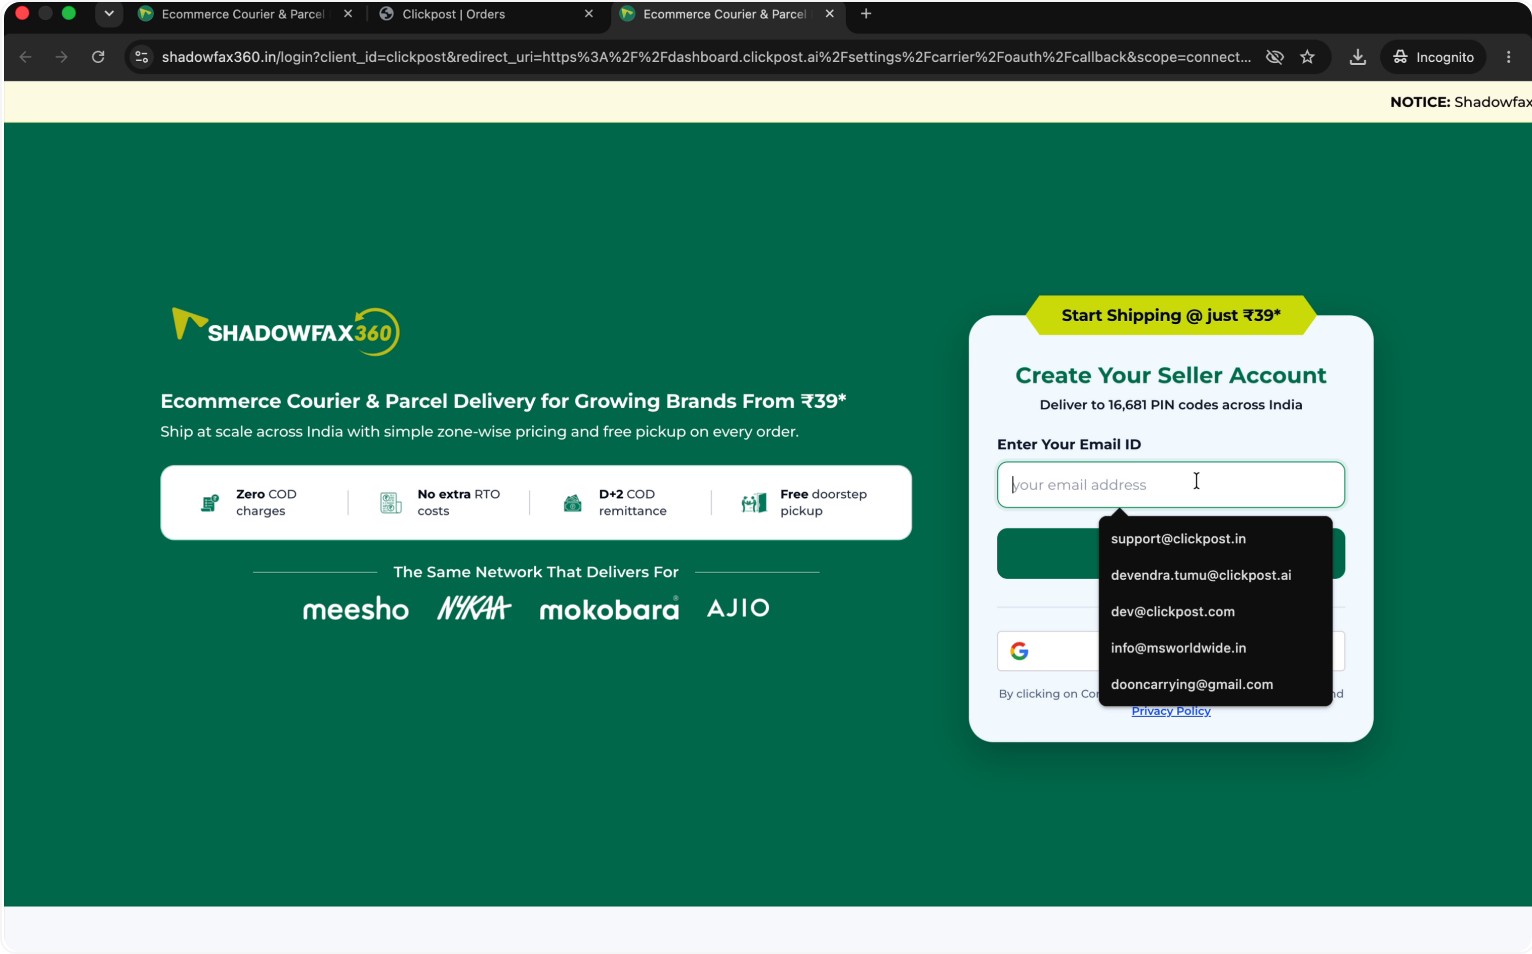
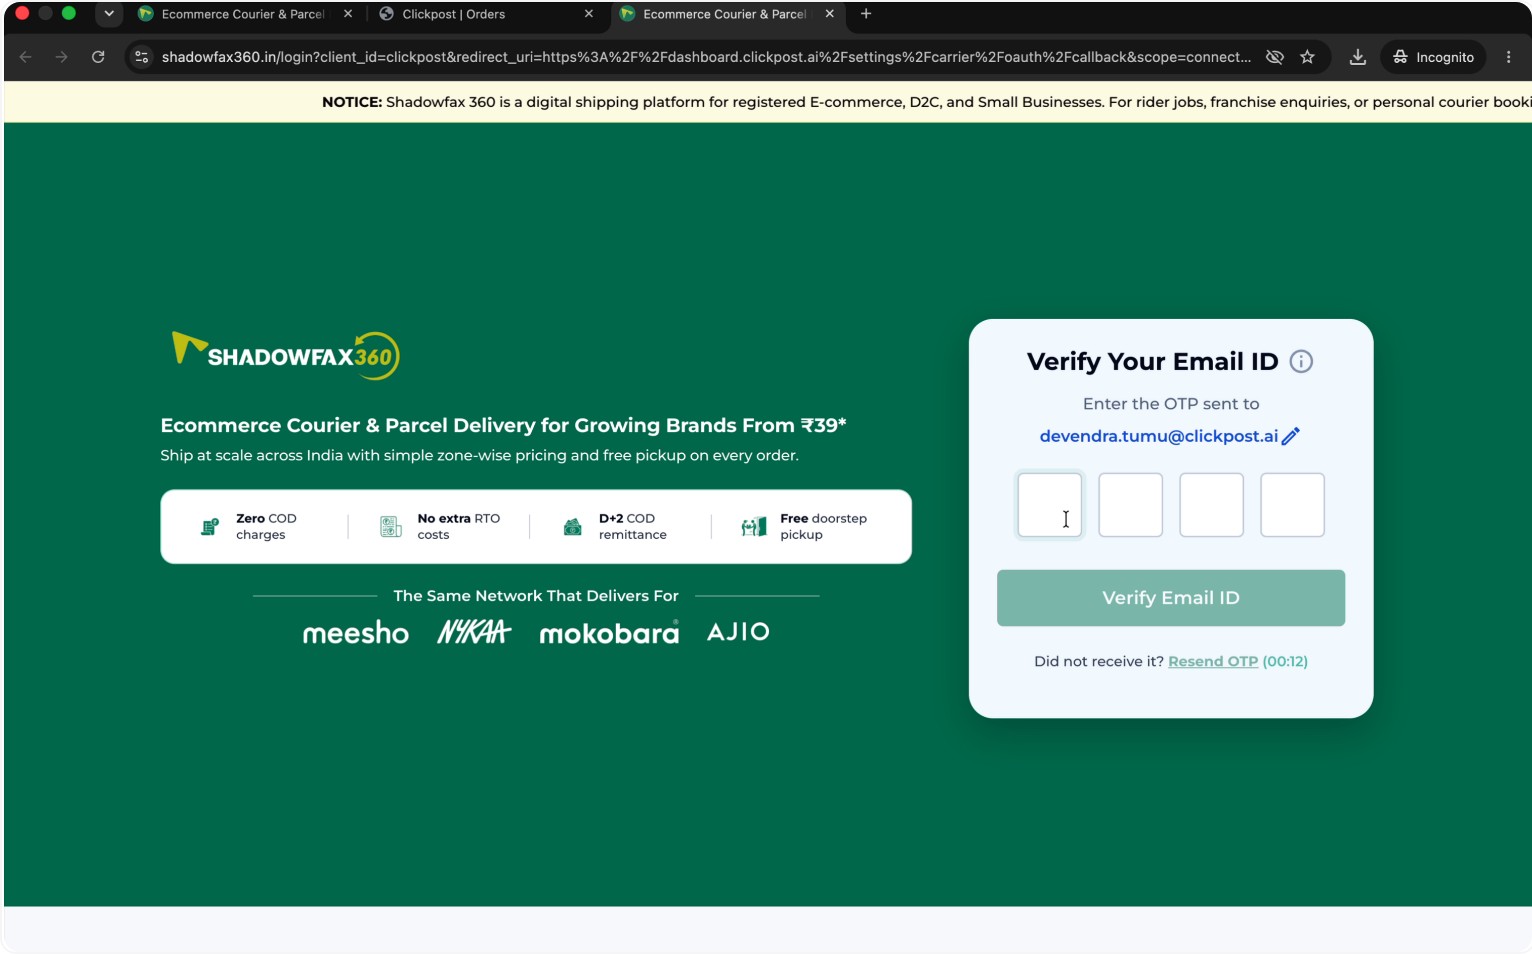
Enter the verification code received via email to verify your email ID and proceed.
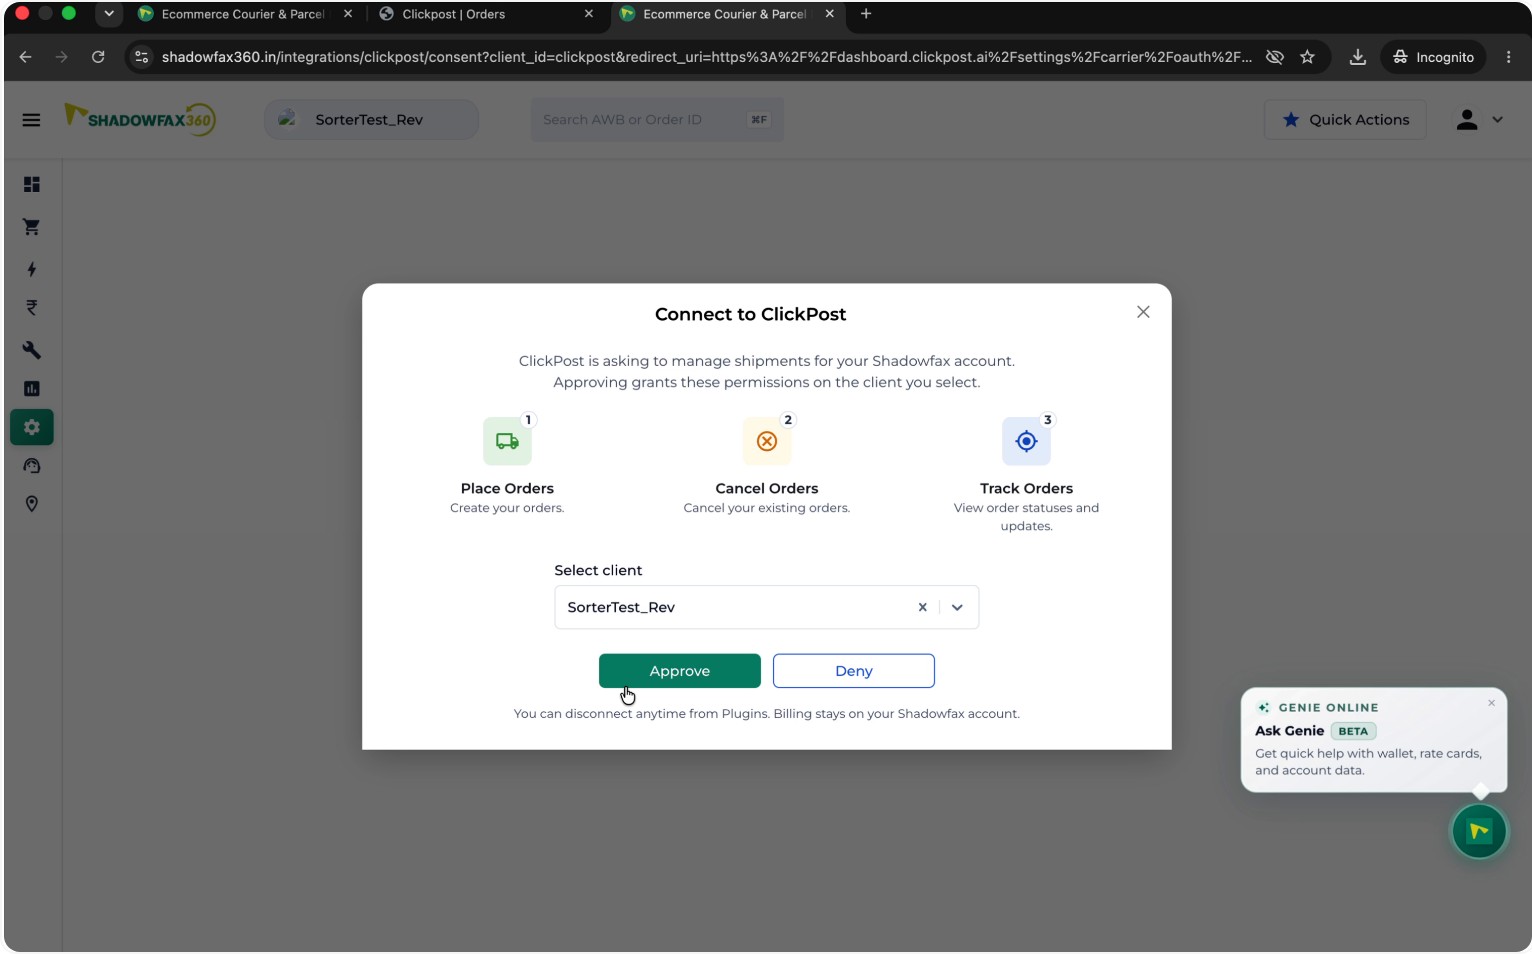
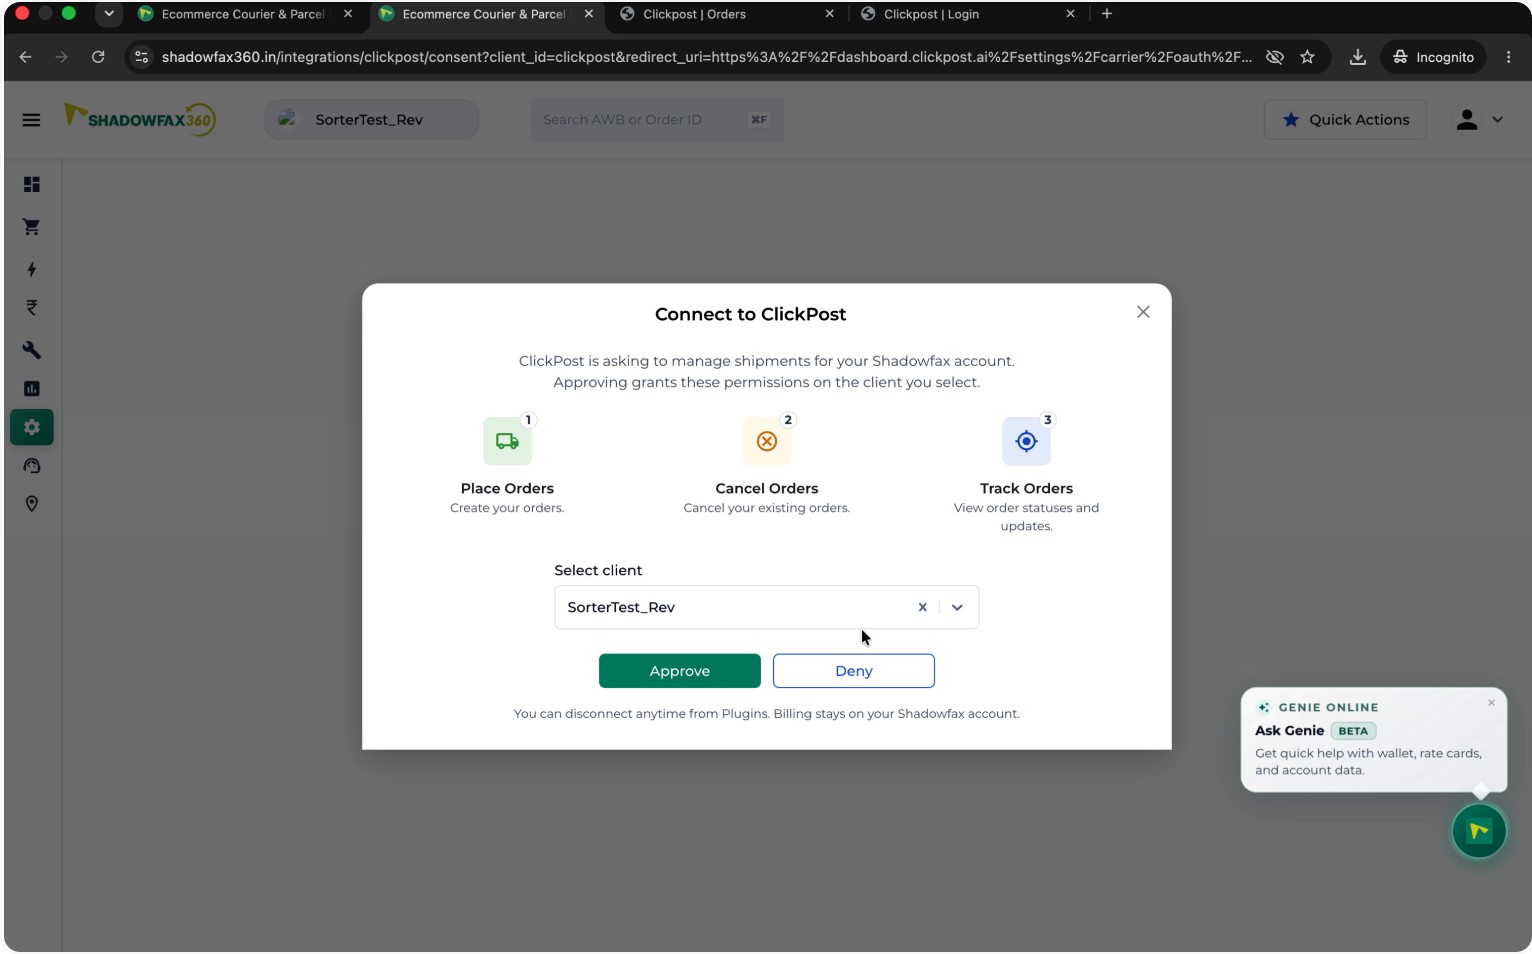
Review the requested permissions, select the correct client account, and click Approve to connect Shadowfax with Clickpost.
Step 6: Verify the Connection and Log Out of Clickpost
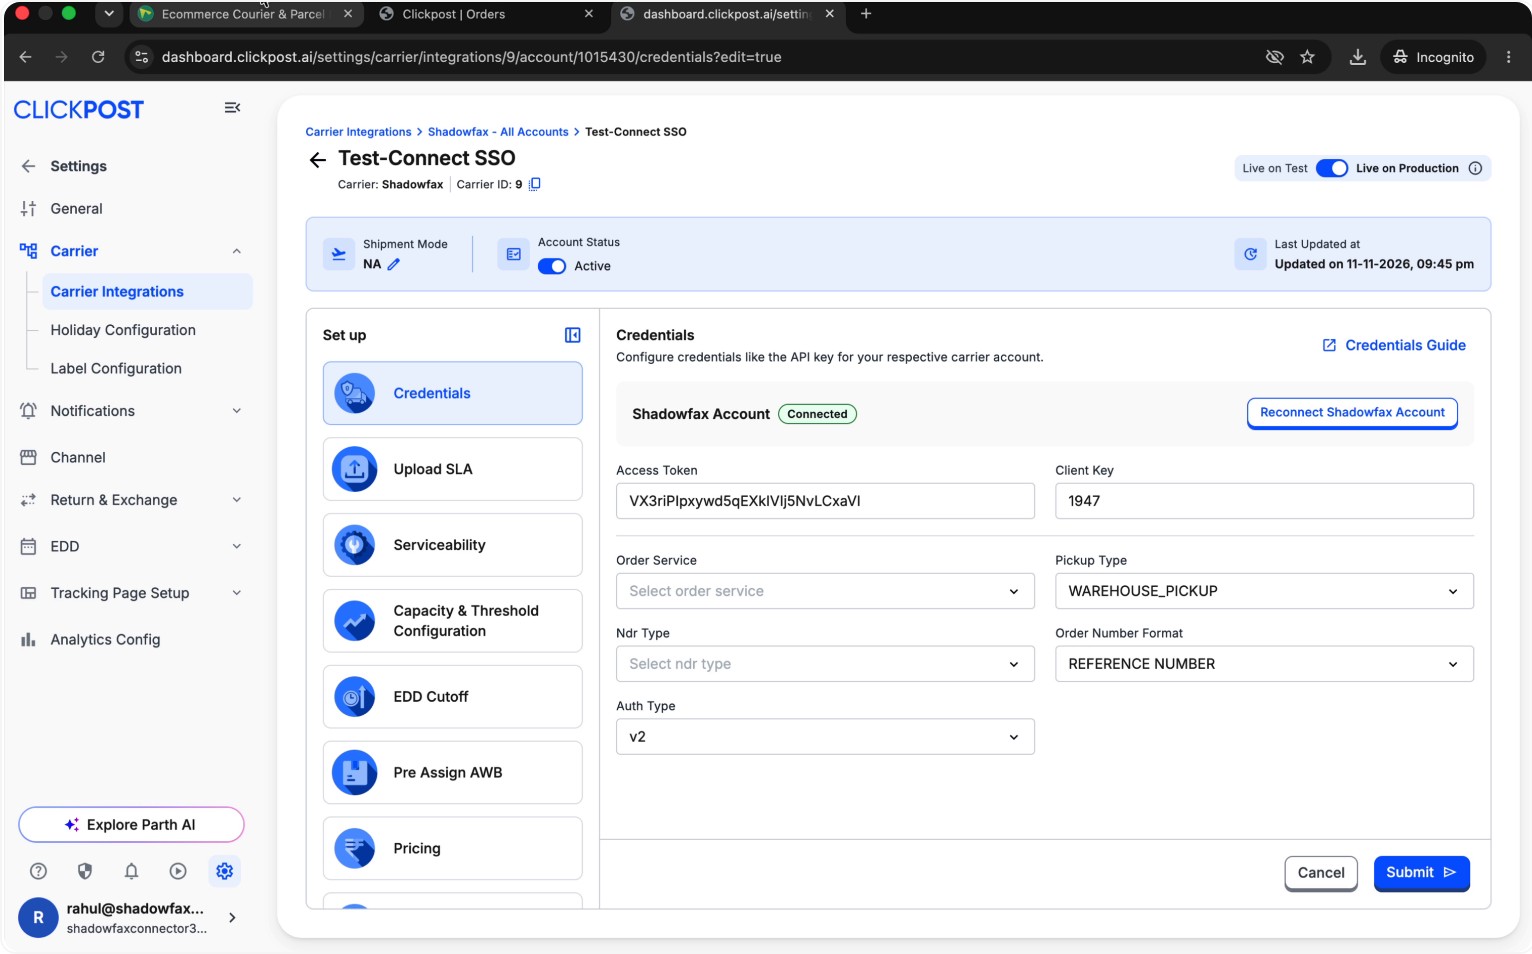
Switch back to the Shadowfax tab and confirm that your setup and connection details are correct.
Then return to Clickpost and log out of your Clickpost account.
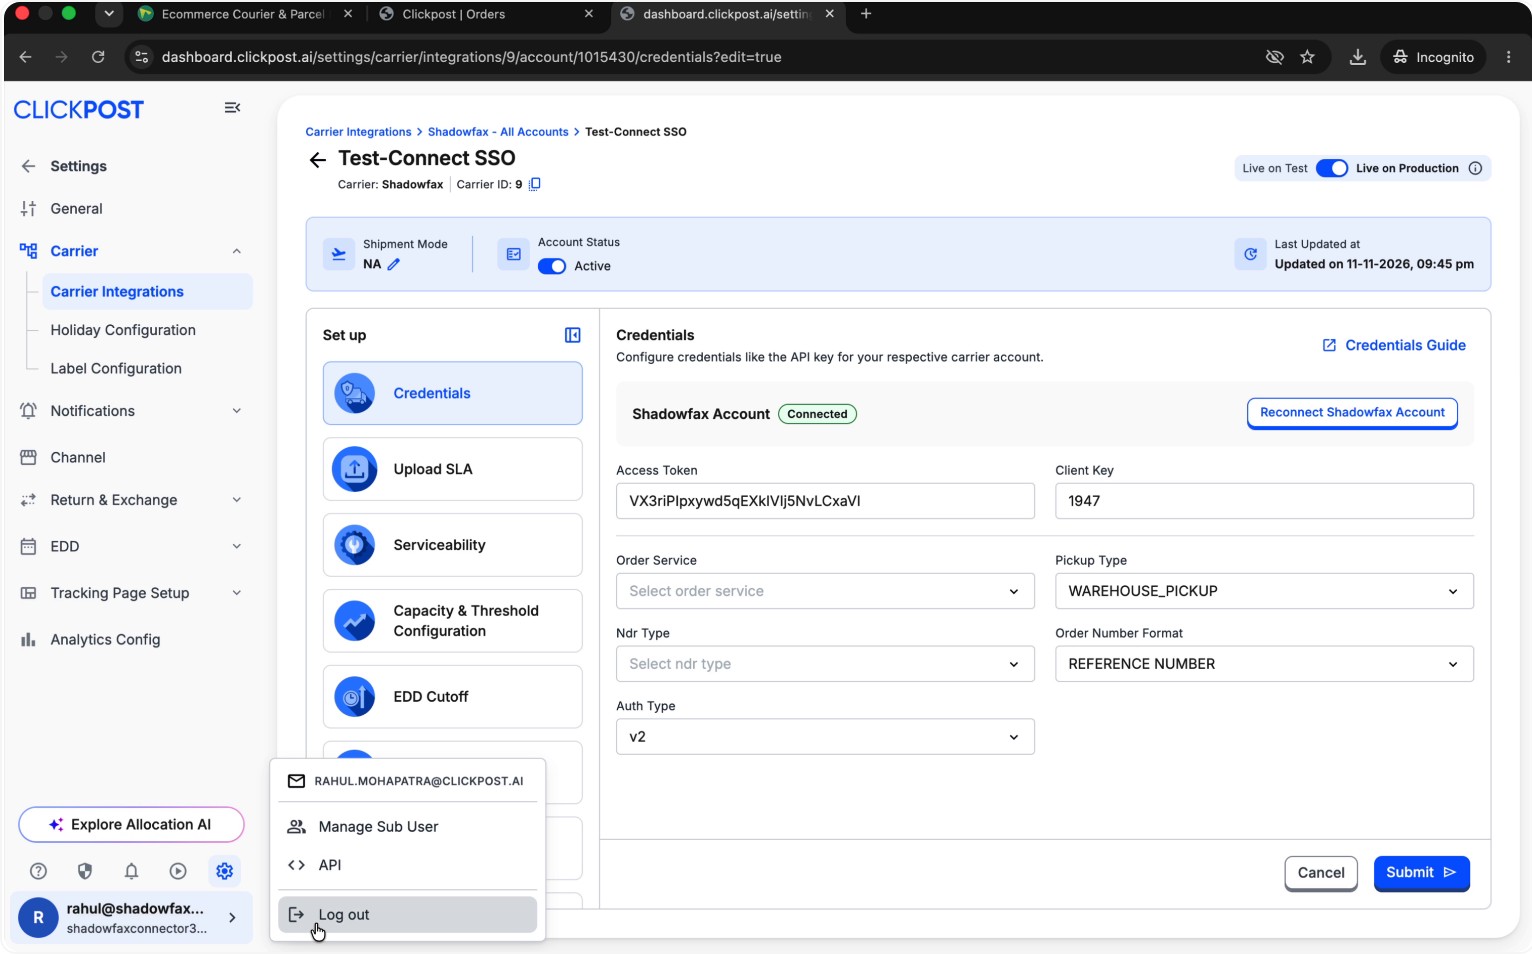
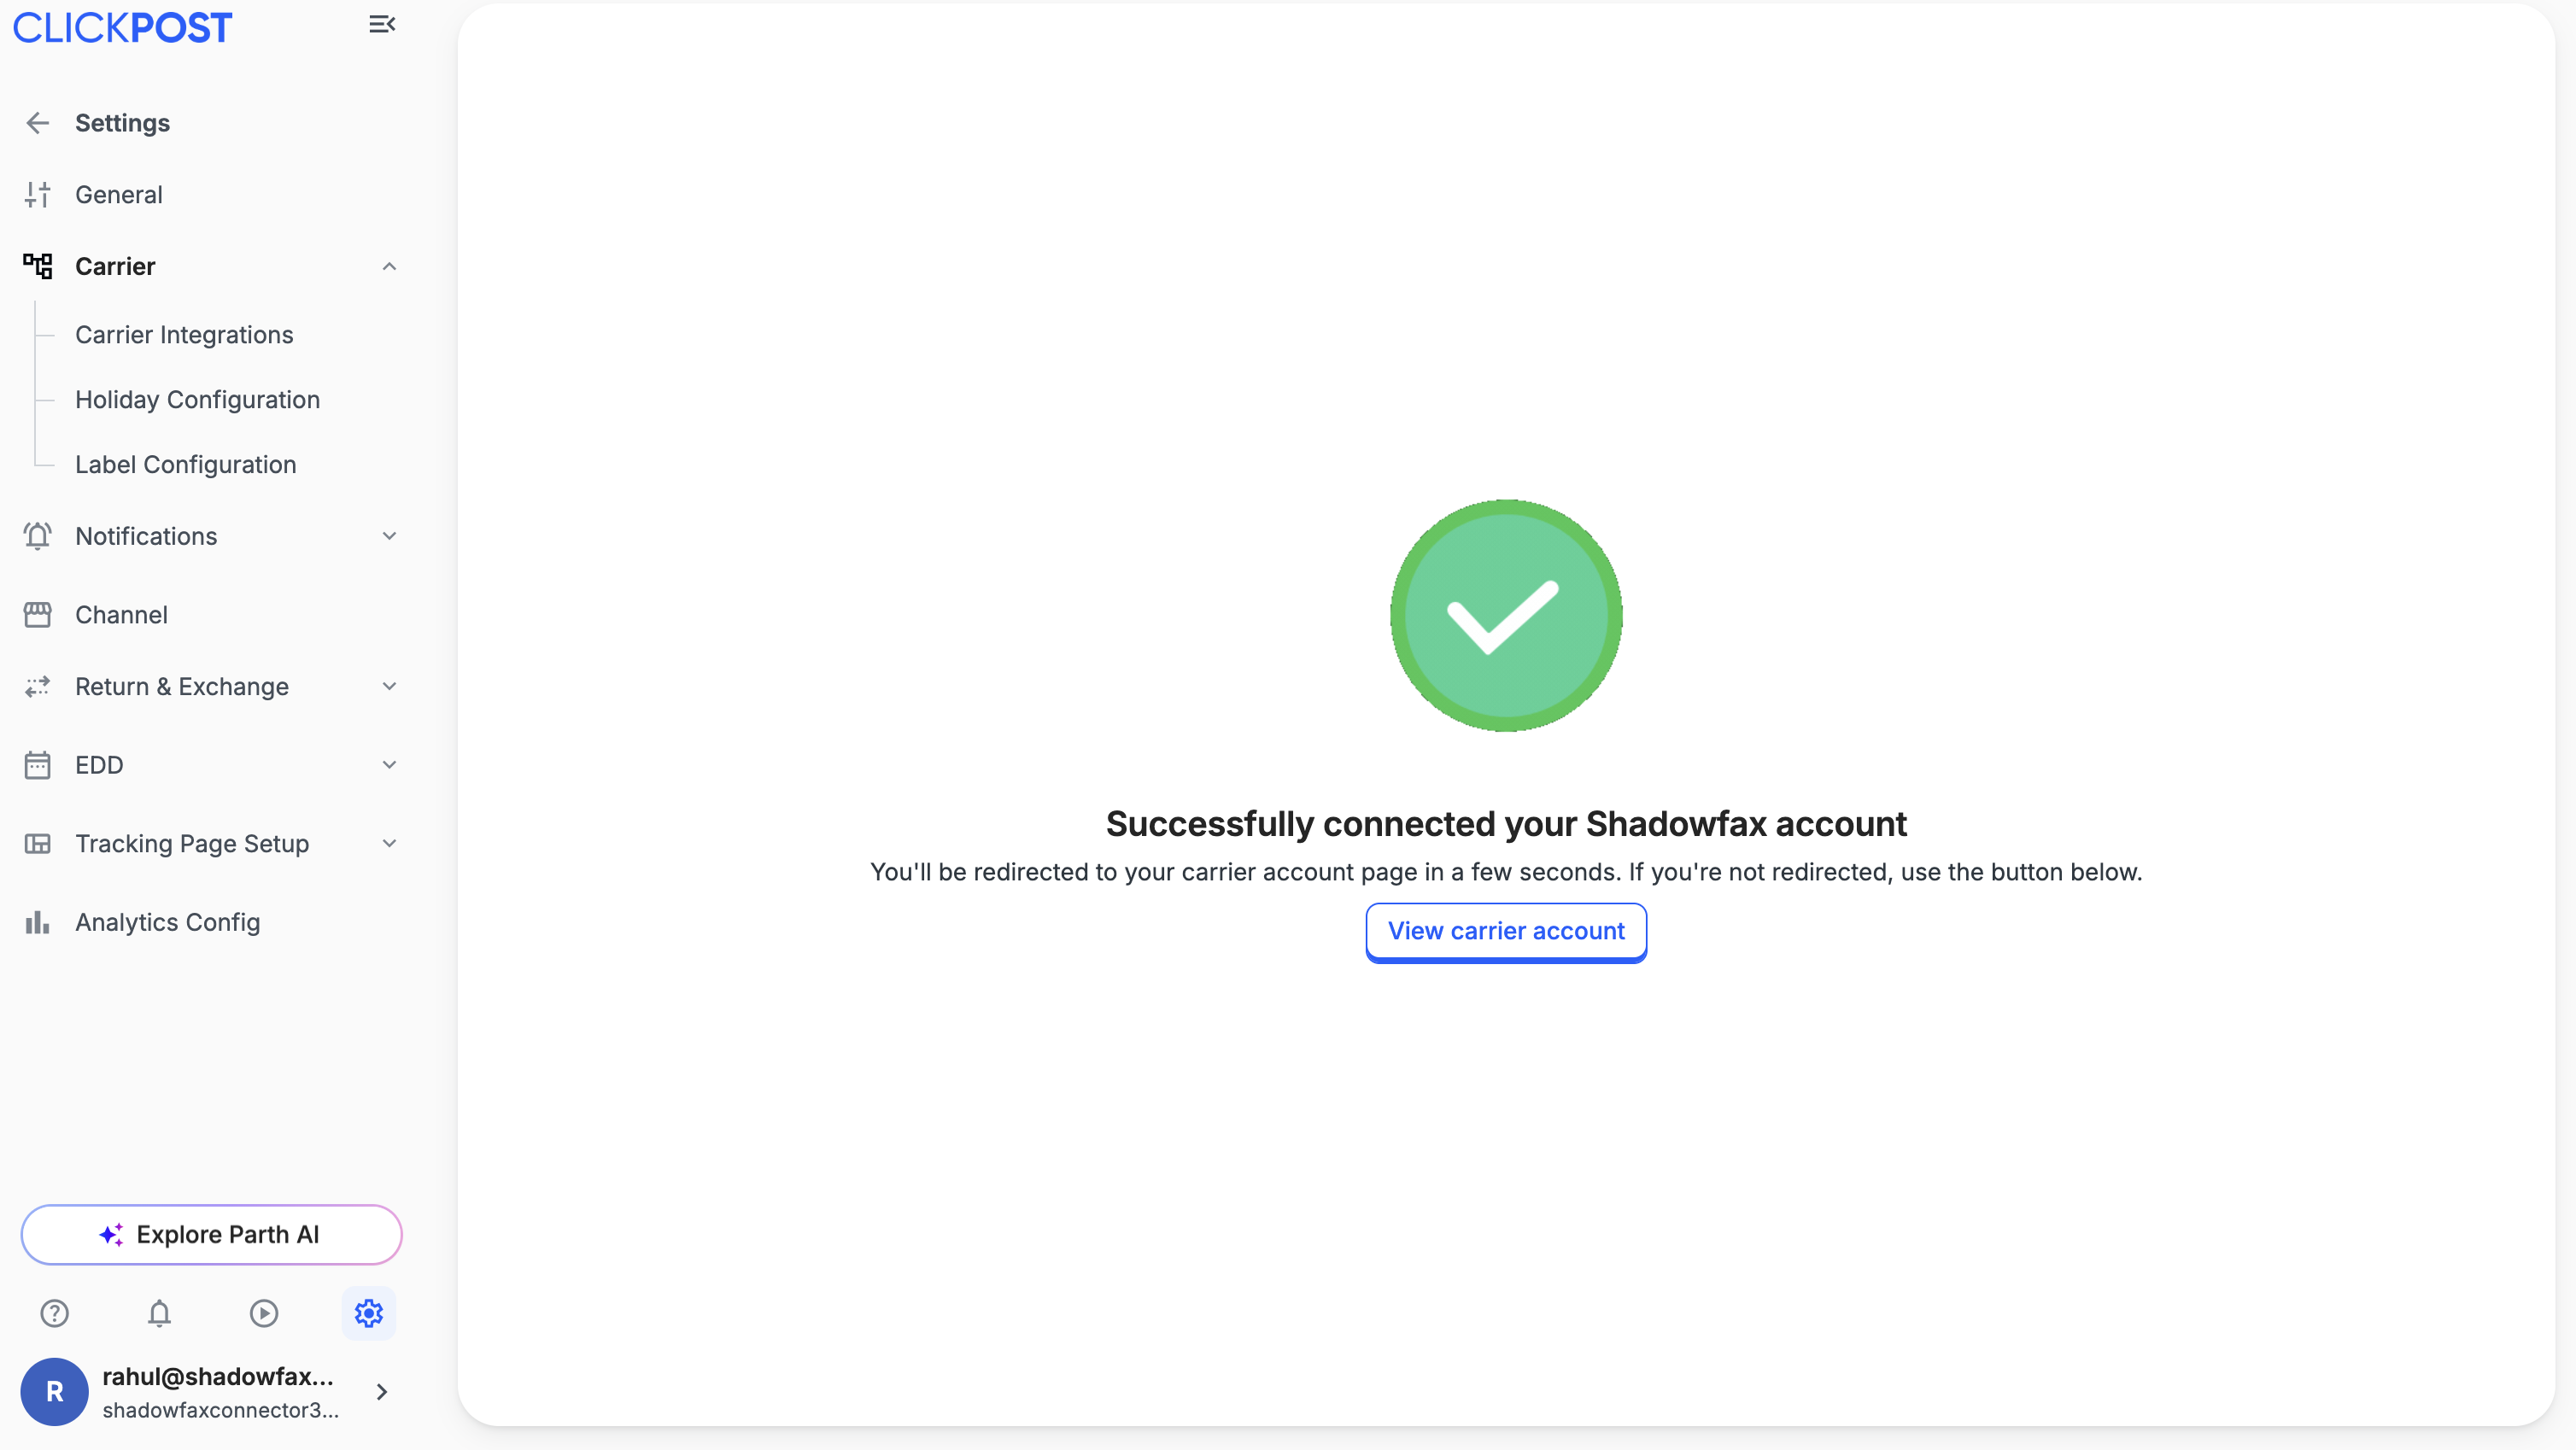
Step 7: Log In to Shadowfax & Trigger a New Verification Code
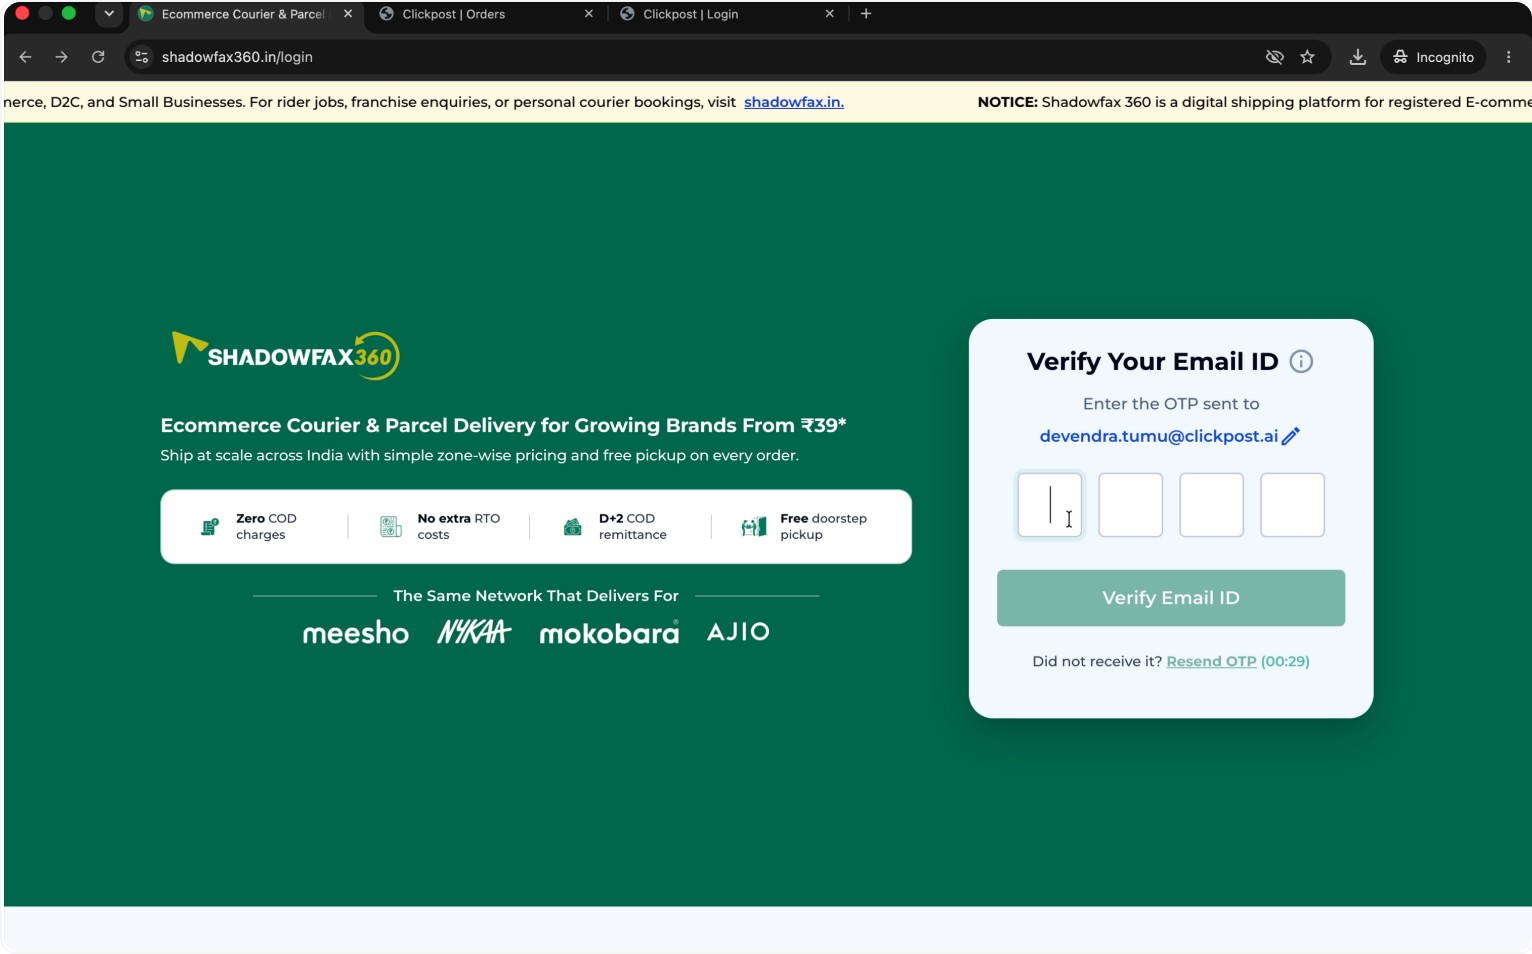
On the Shadowfax login page, enter your email address again and click Start Shipping to trigger a fresh verification code.
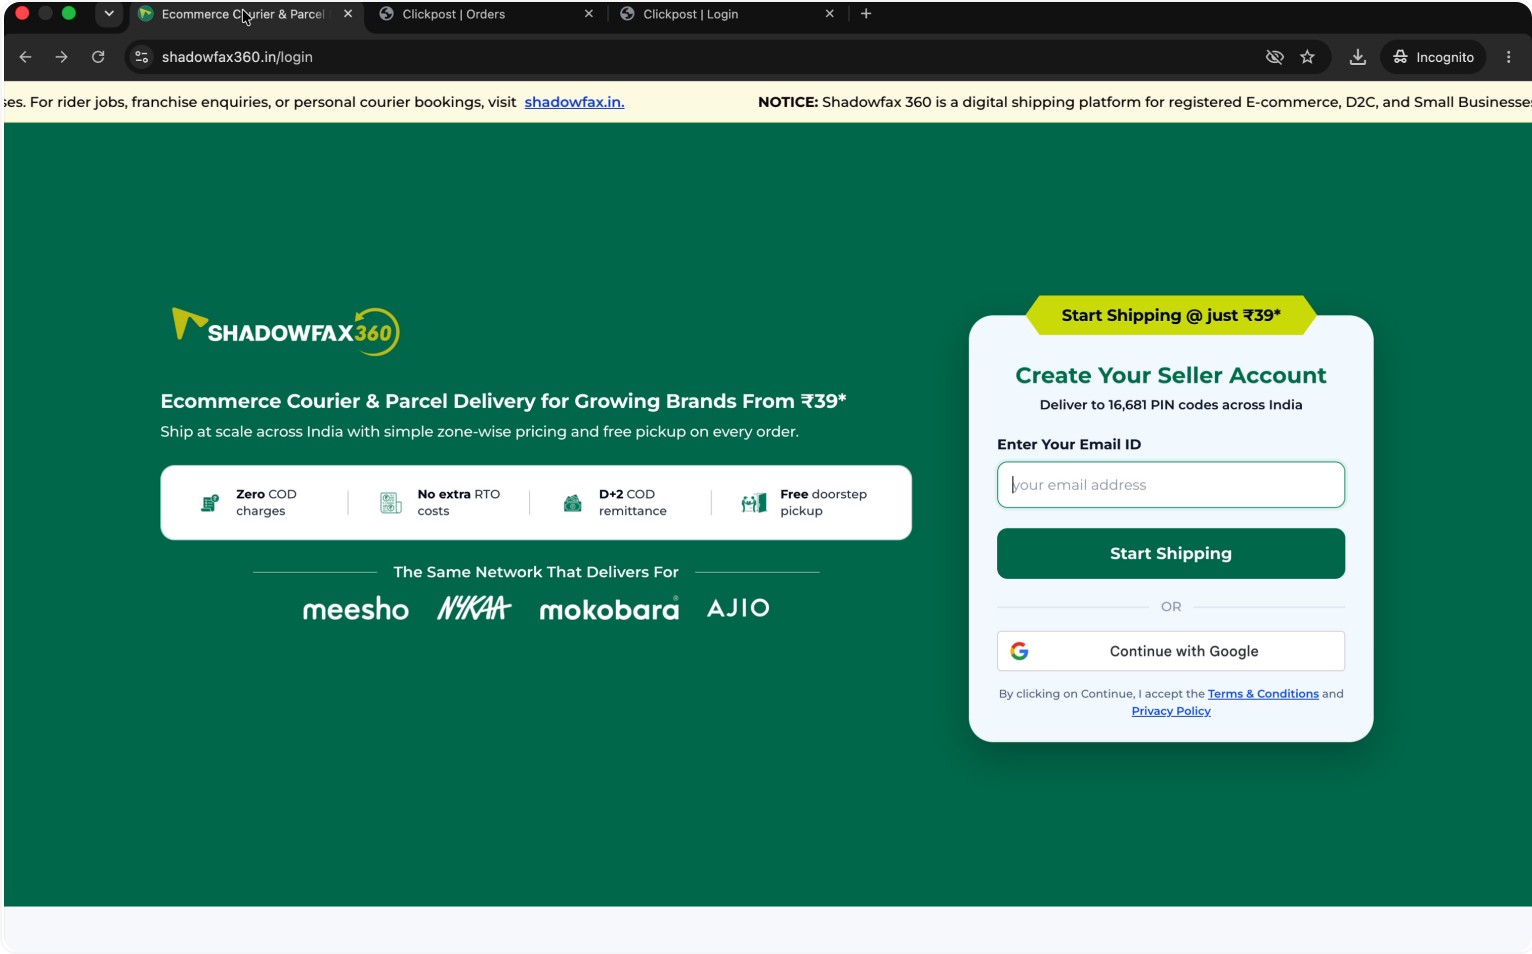
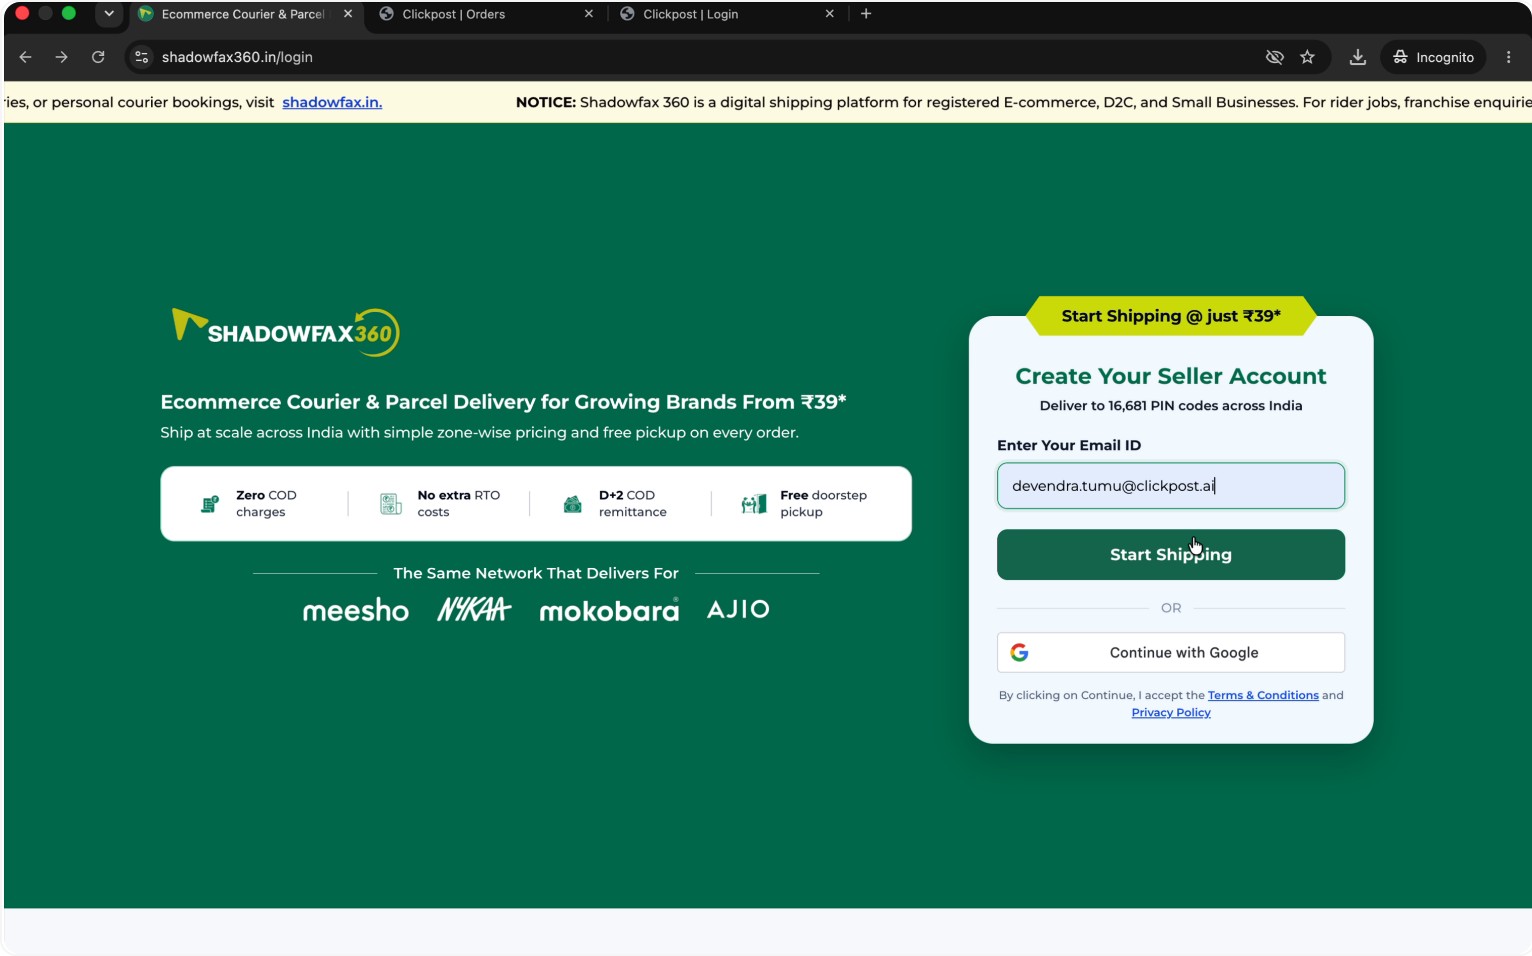
Enter the OTP code received in your email to log in to your Shadowfax account.
Step 8: Open Integrations in Shadowfax
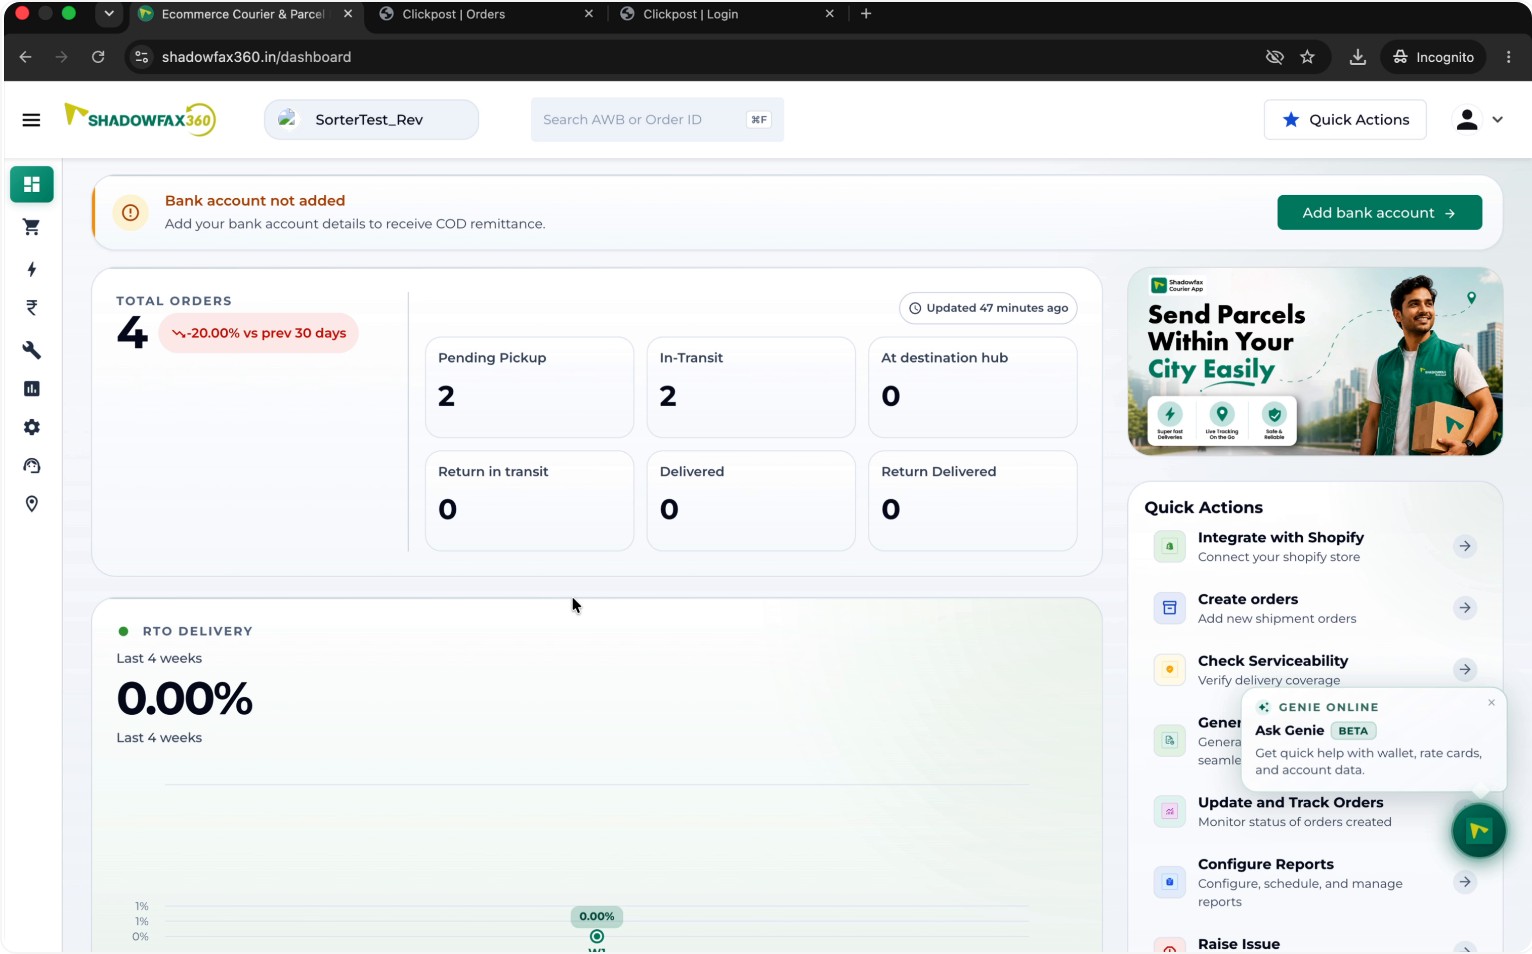
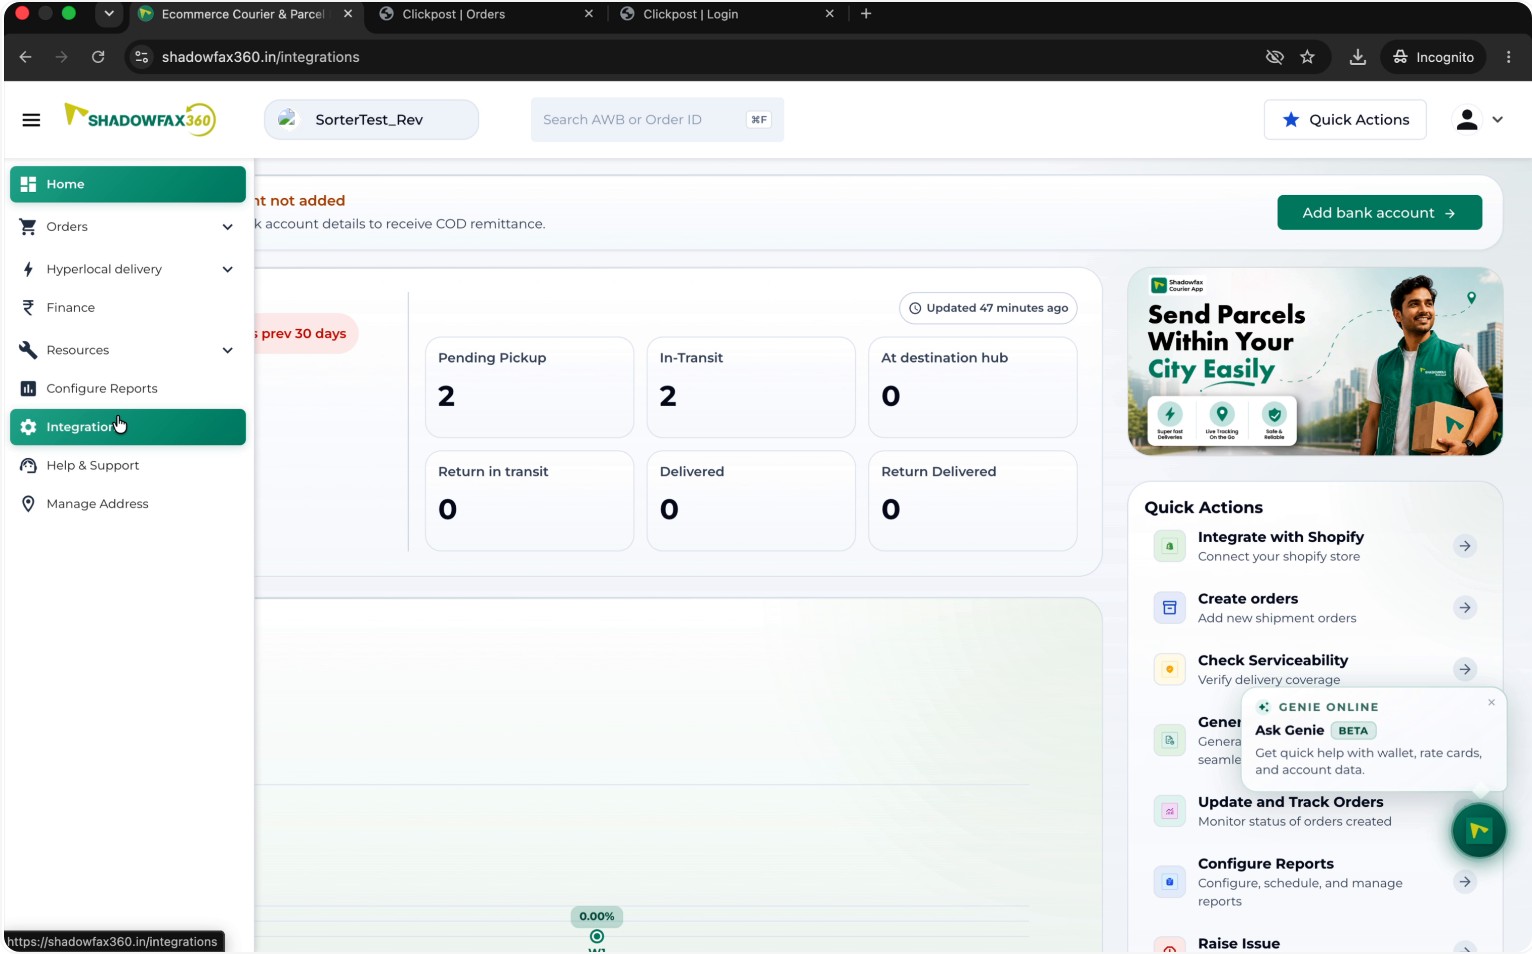
Once logged in to Shadowfax, open the side menu and select Integrations to manage connected platforms.
Step 9: Disconnect the Existing Clickpost Integration
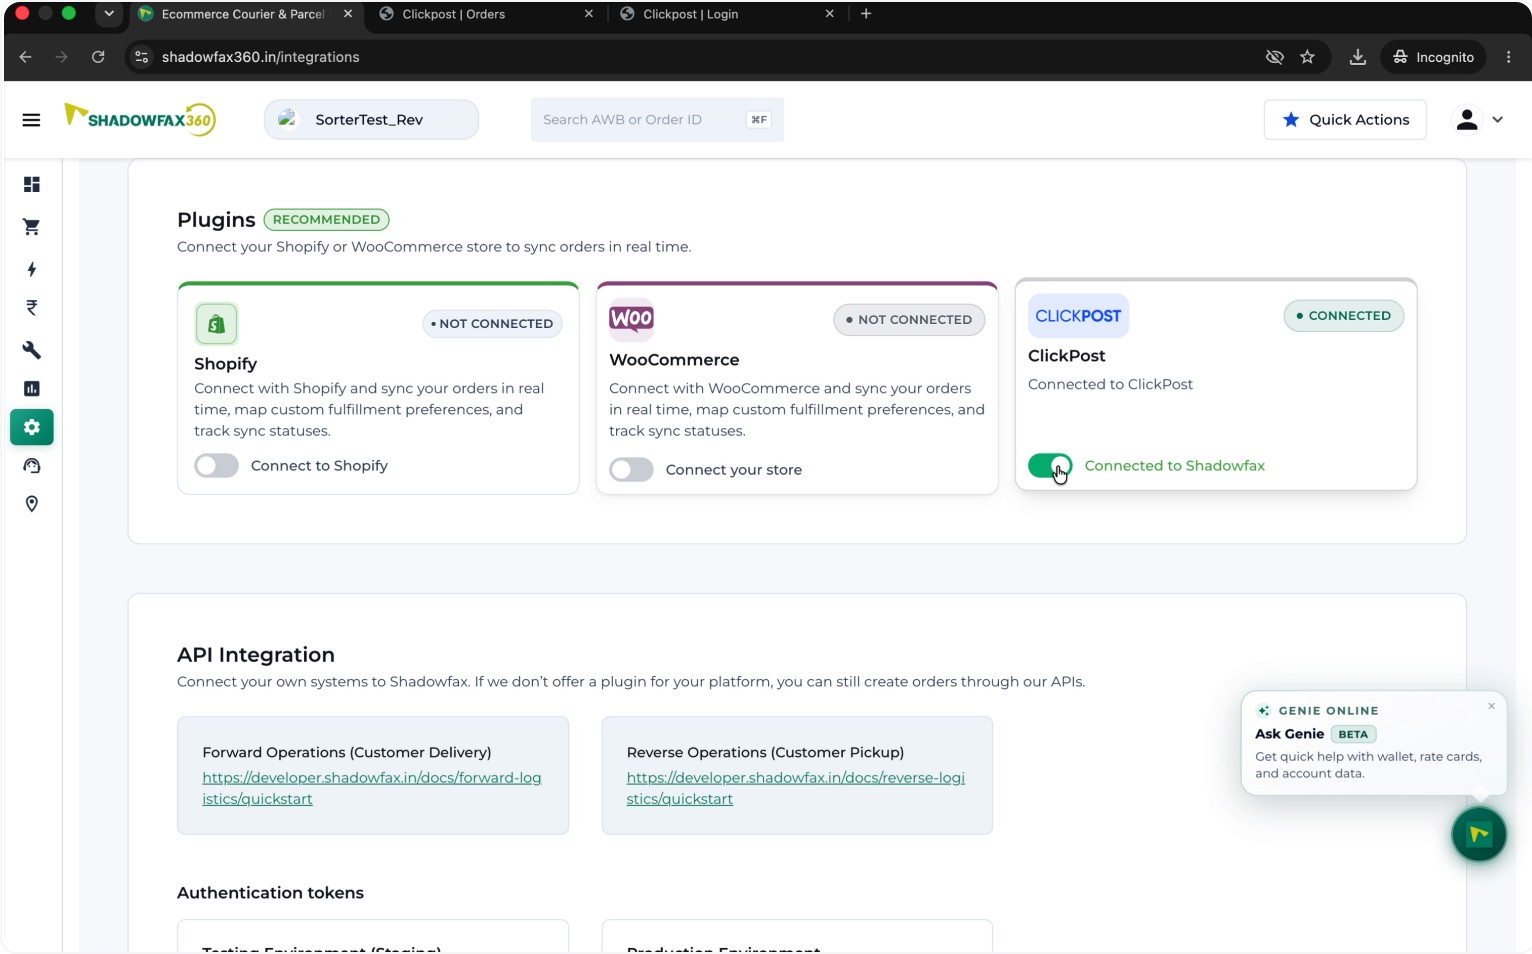
In the Integrations section, locate the existing Clickpost integration.
Click Disconnect (or equivalent option) and confirm the disconnection when prompted to fully remove the current link.
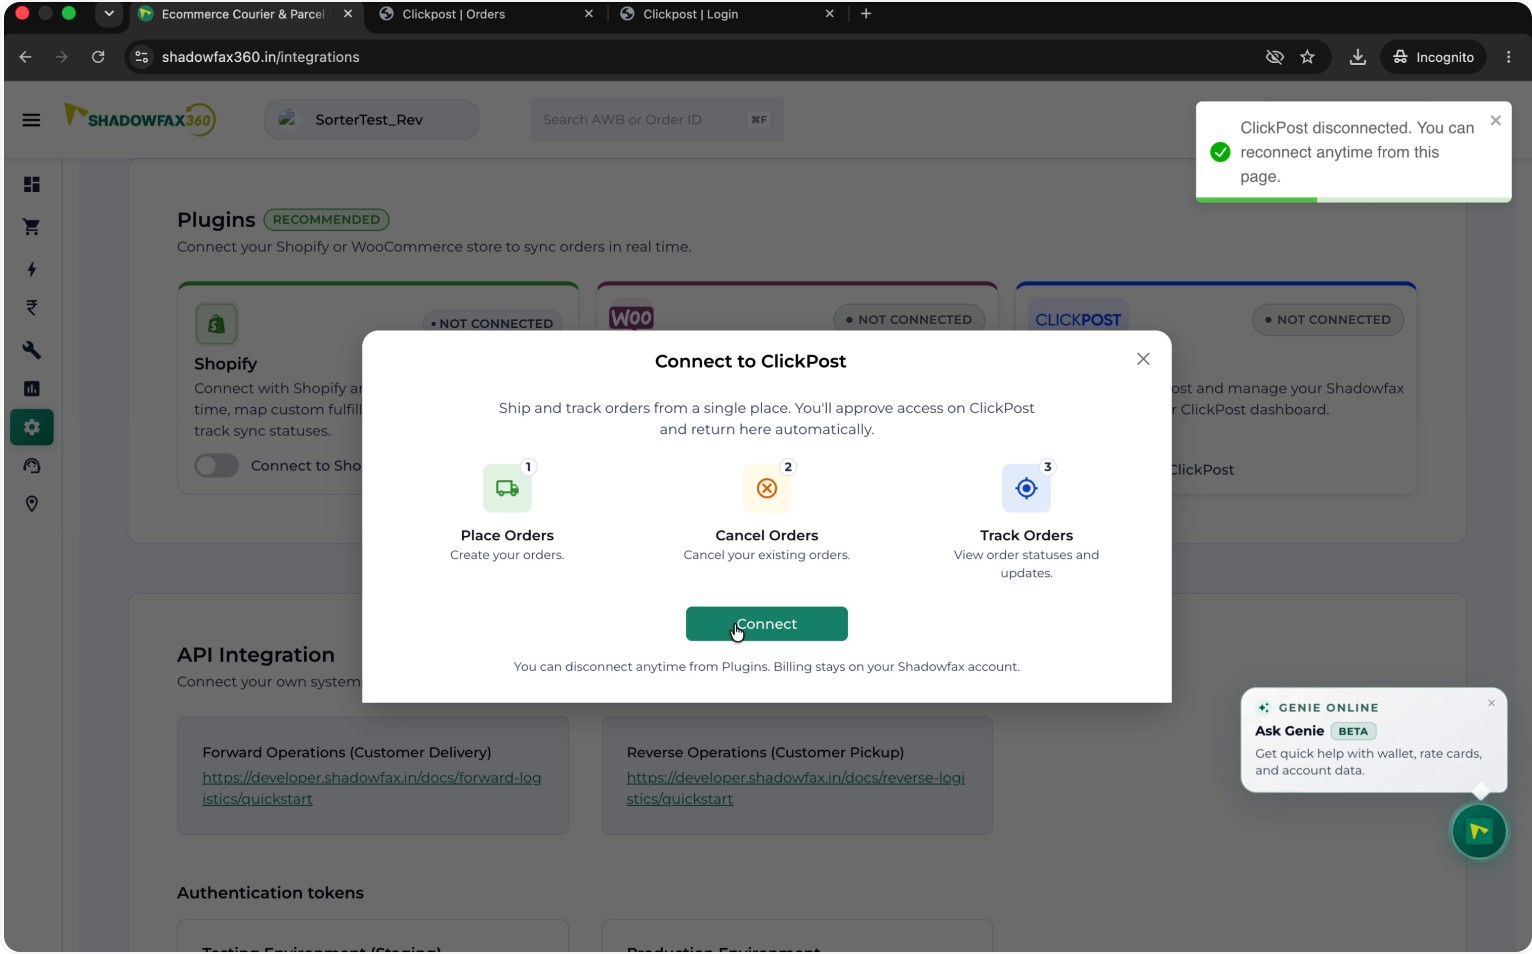
Step 10: Reconnect Clickpost from Shadowfax
On the Clickpost integration prompt in Shadowfax, click Connect to start reconnecting.
Sign back in to your Clickpost account when redirected.
Enter the OTP verification code sent to your email and click Verify to authenticate your Clickpost login.
Step 11: Finalize the Shadowfax–Clickpost Connection
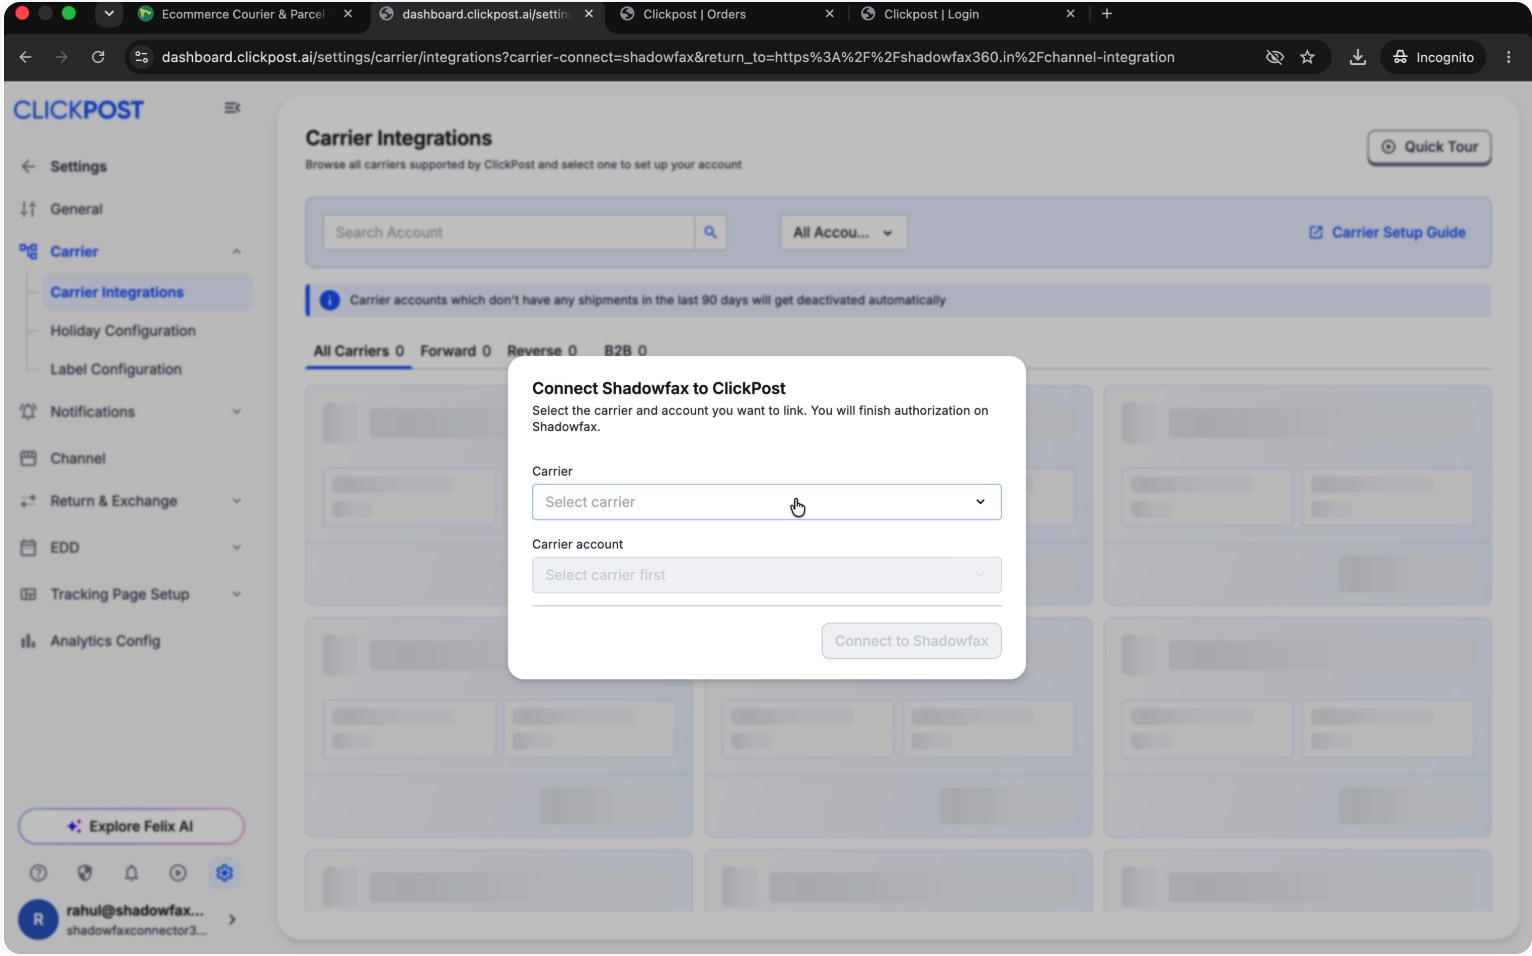
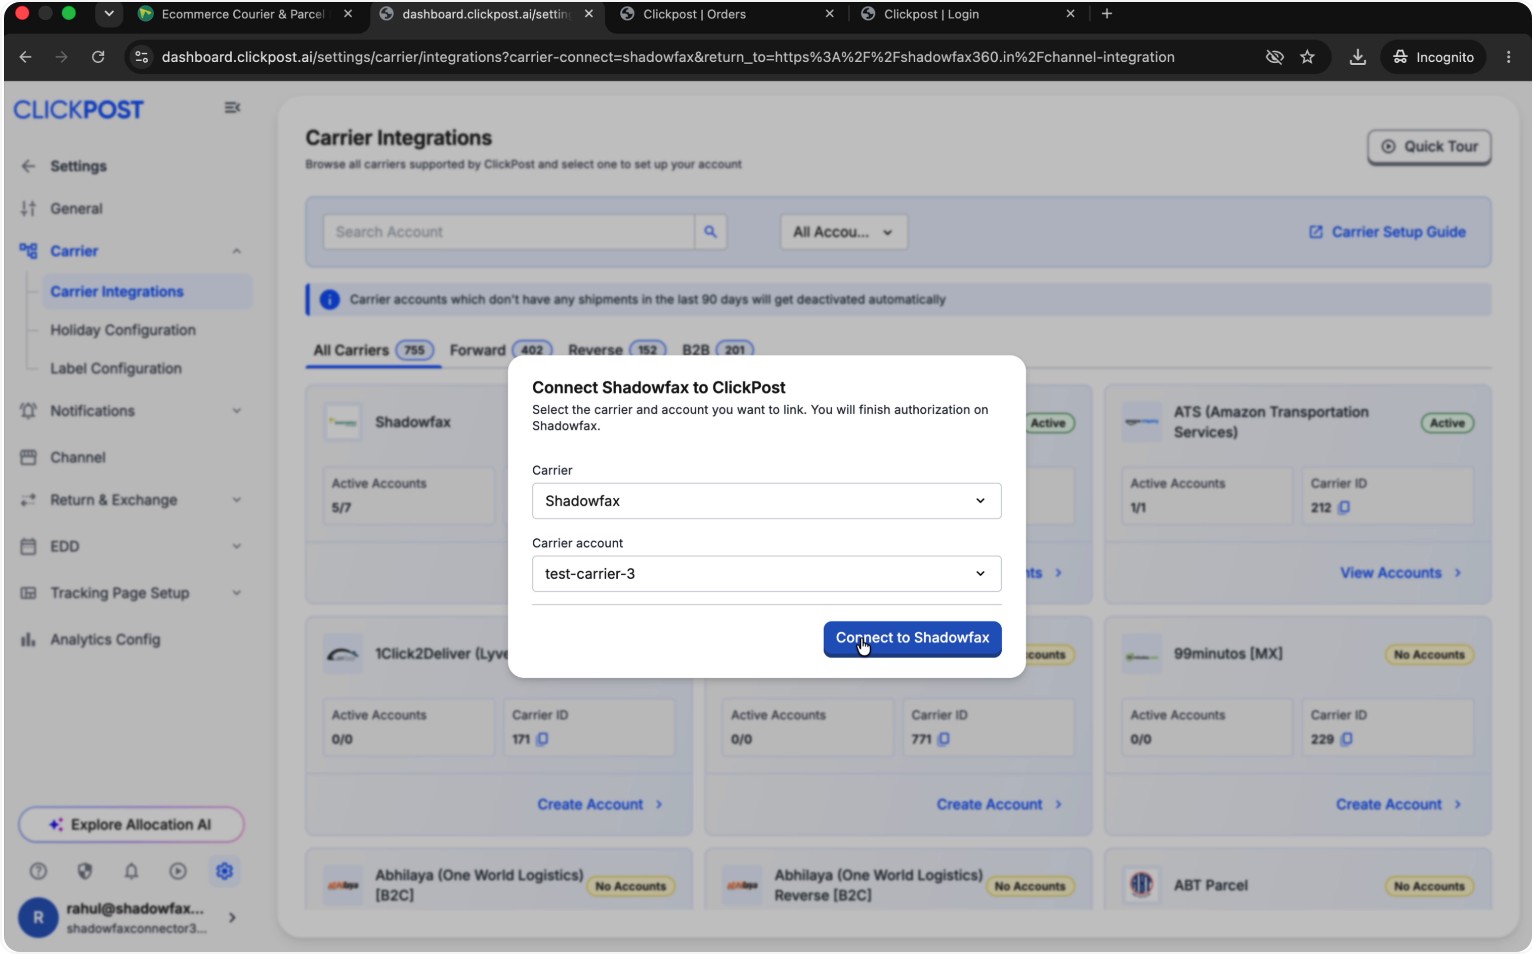
In the Clickpost authorization screen, select Shadowfax as the carrier, choose the correct carrier account, and click Connect to Shadowfax.
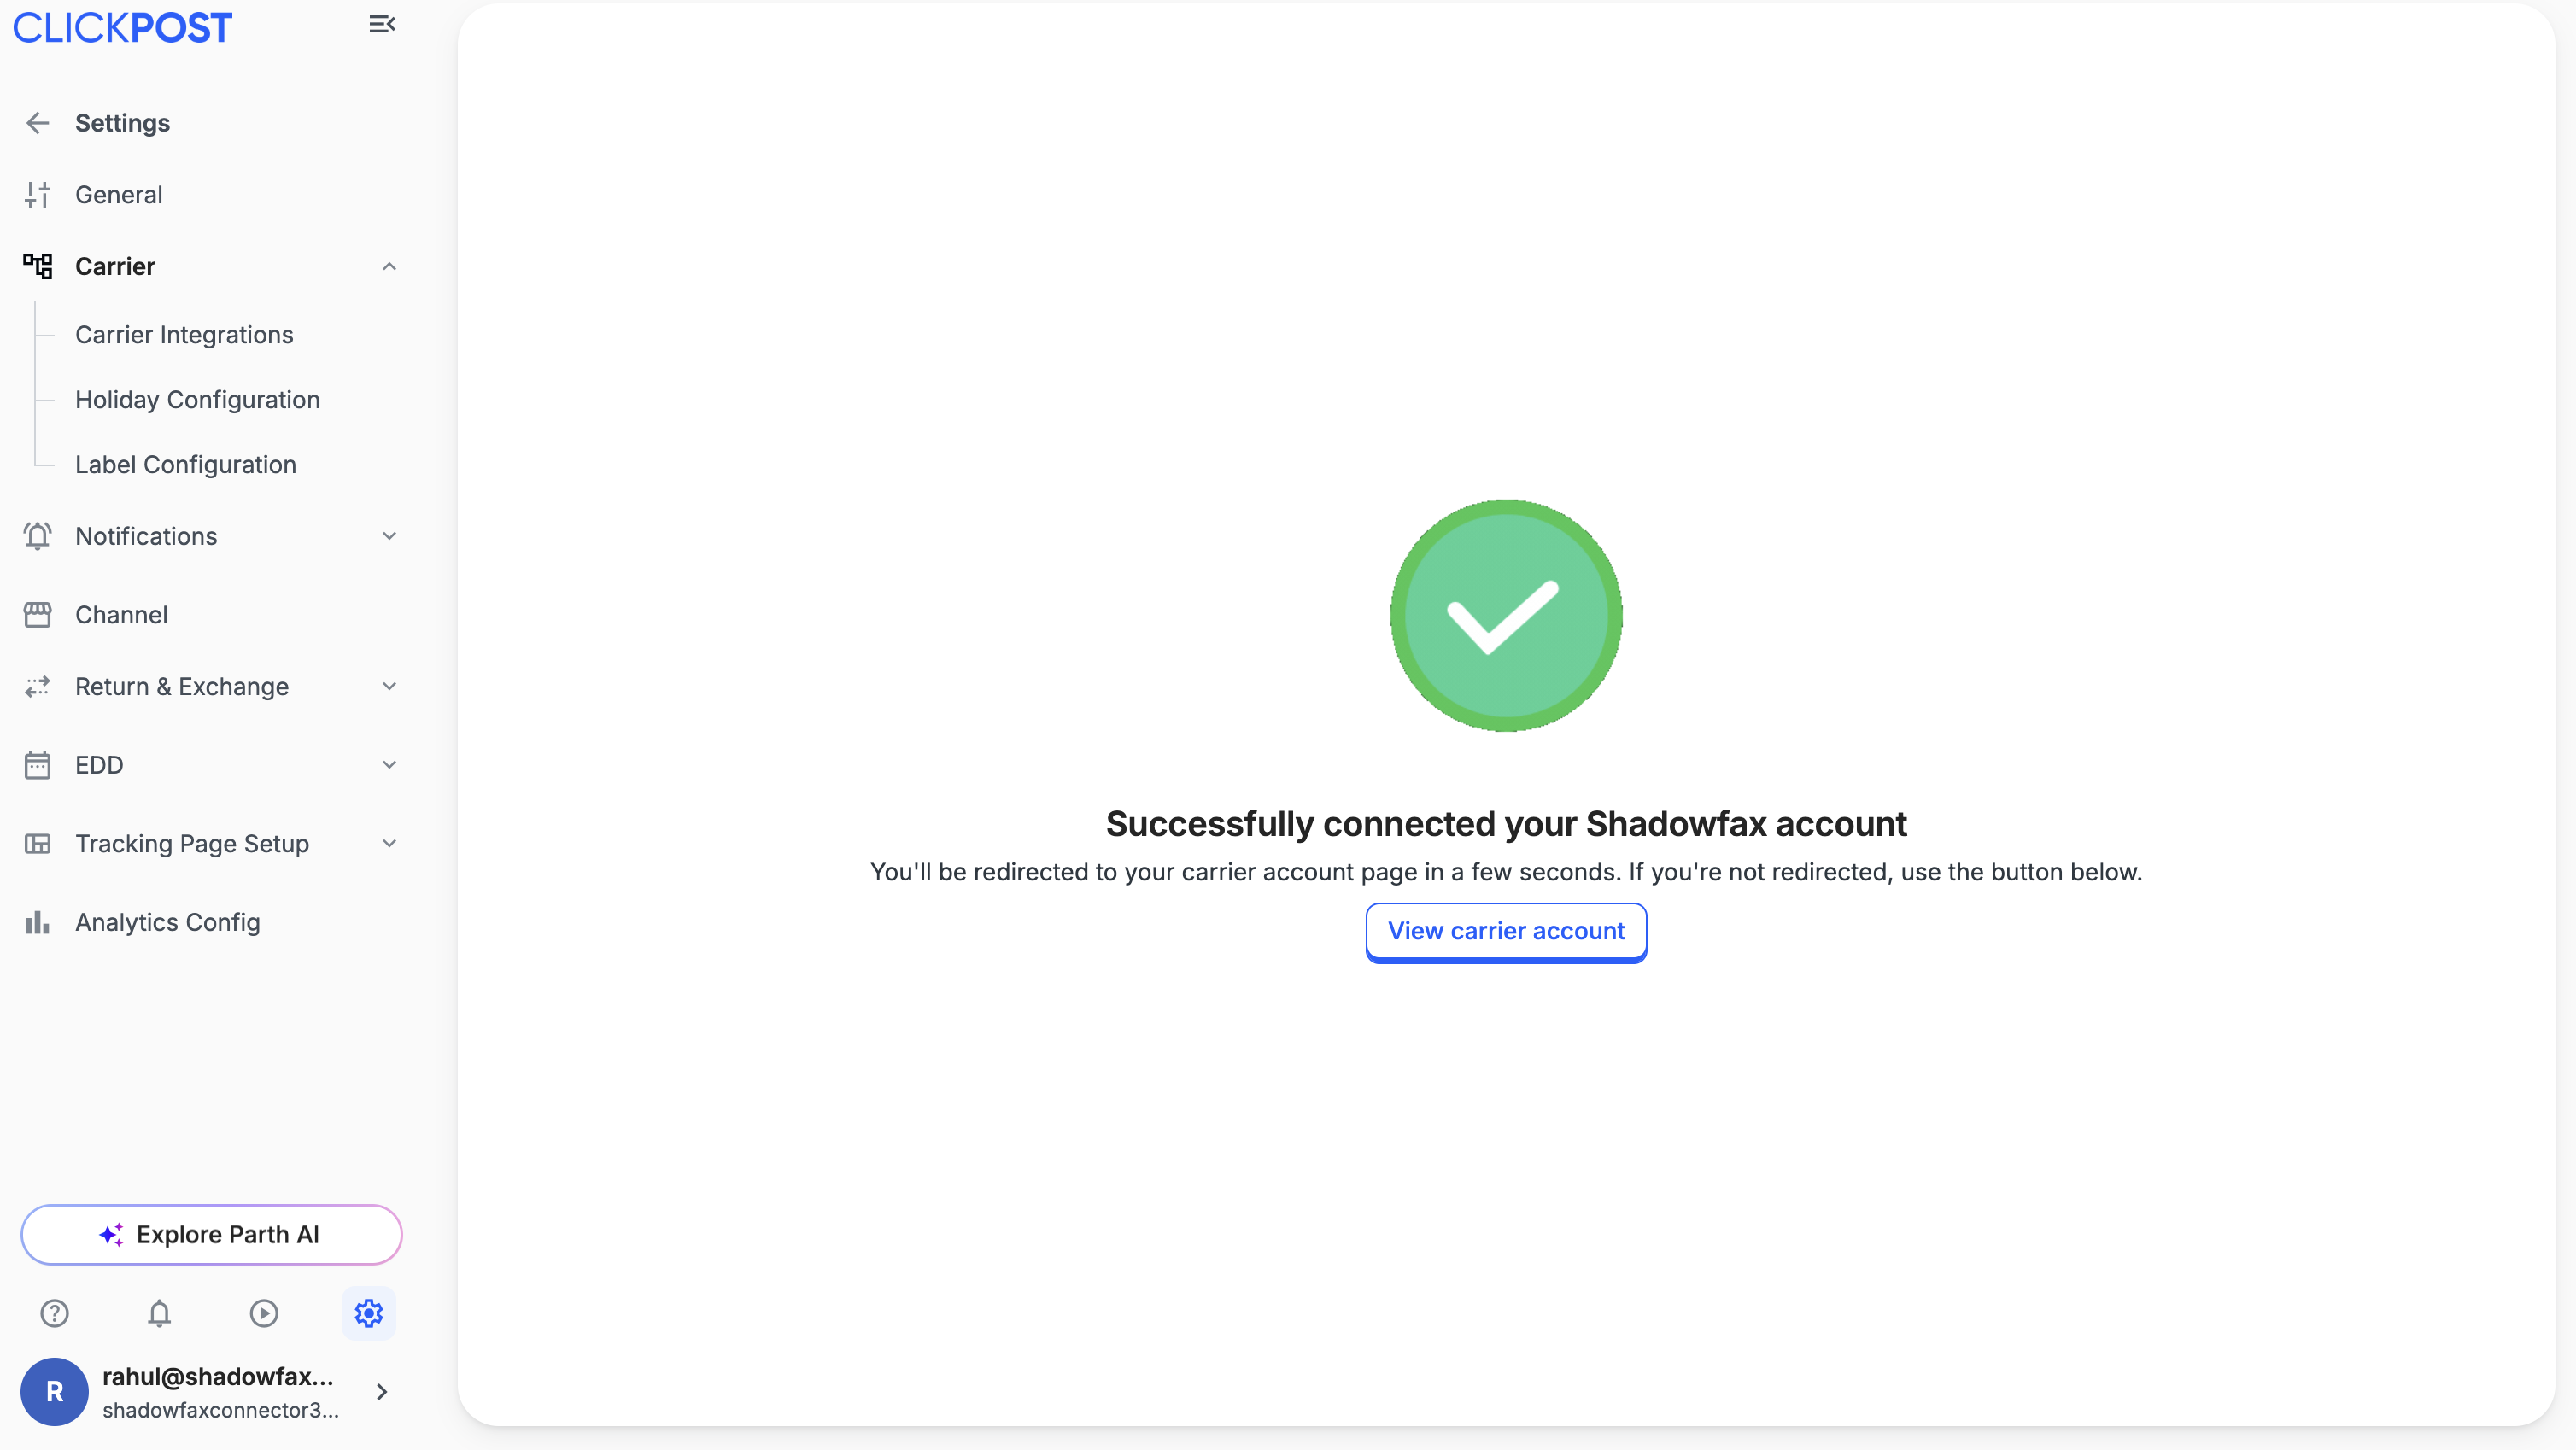
Confirm the correct client is selected, click Approve, and complete the connection back to Shadowfax.
Updated 10 days ago